
Broadside and Ram Convoy Action Report
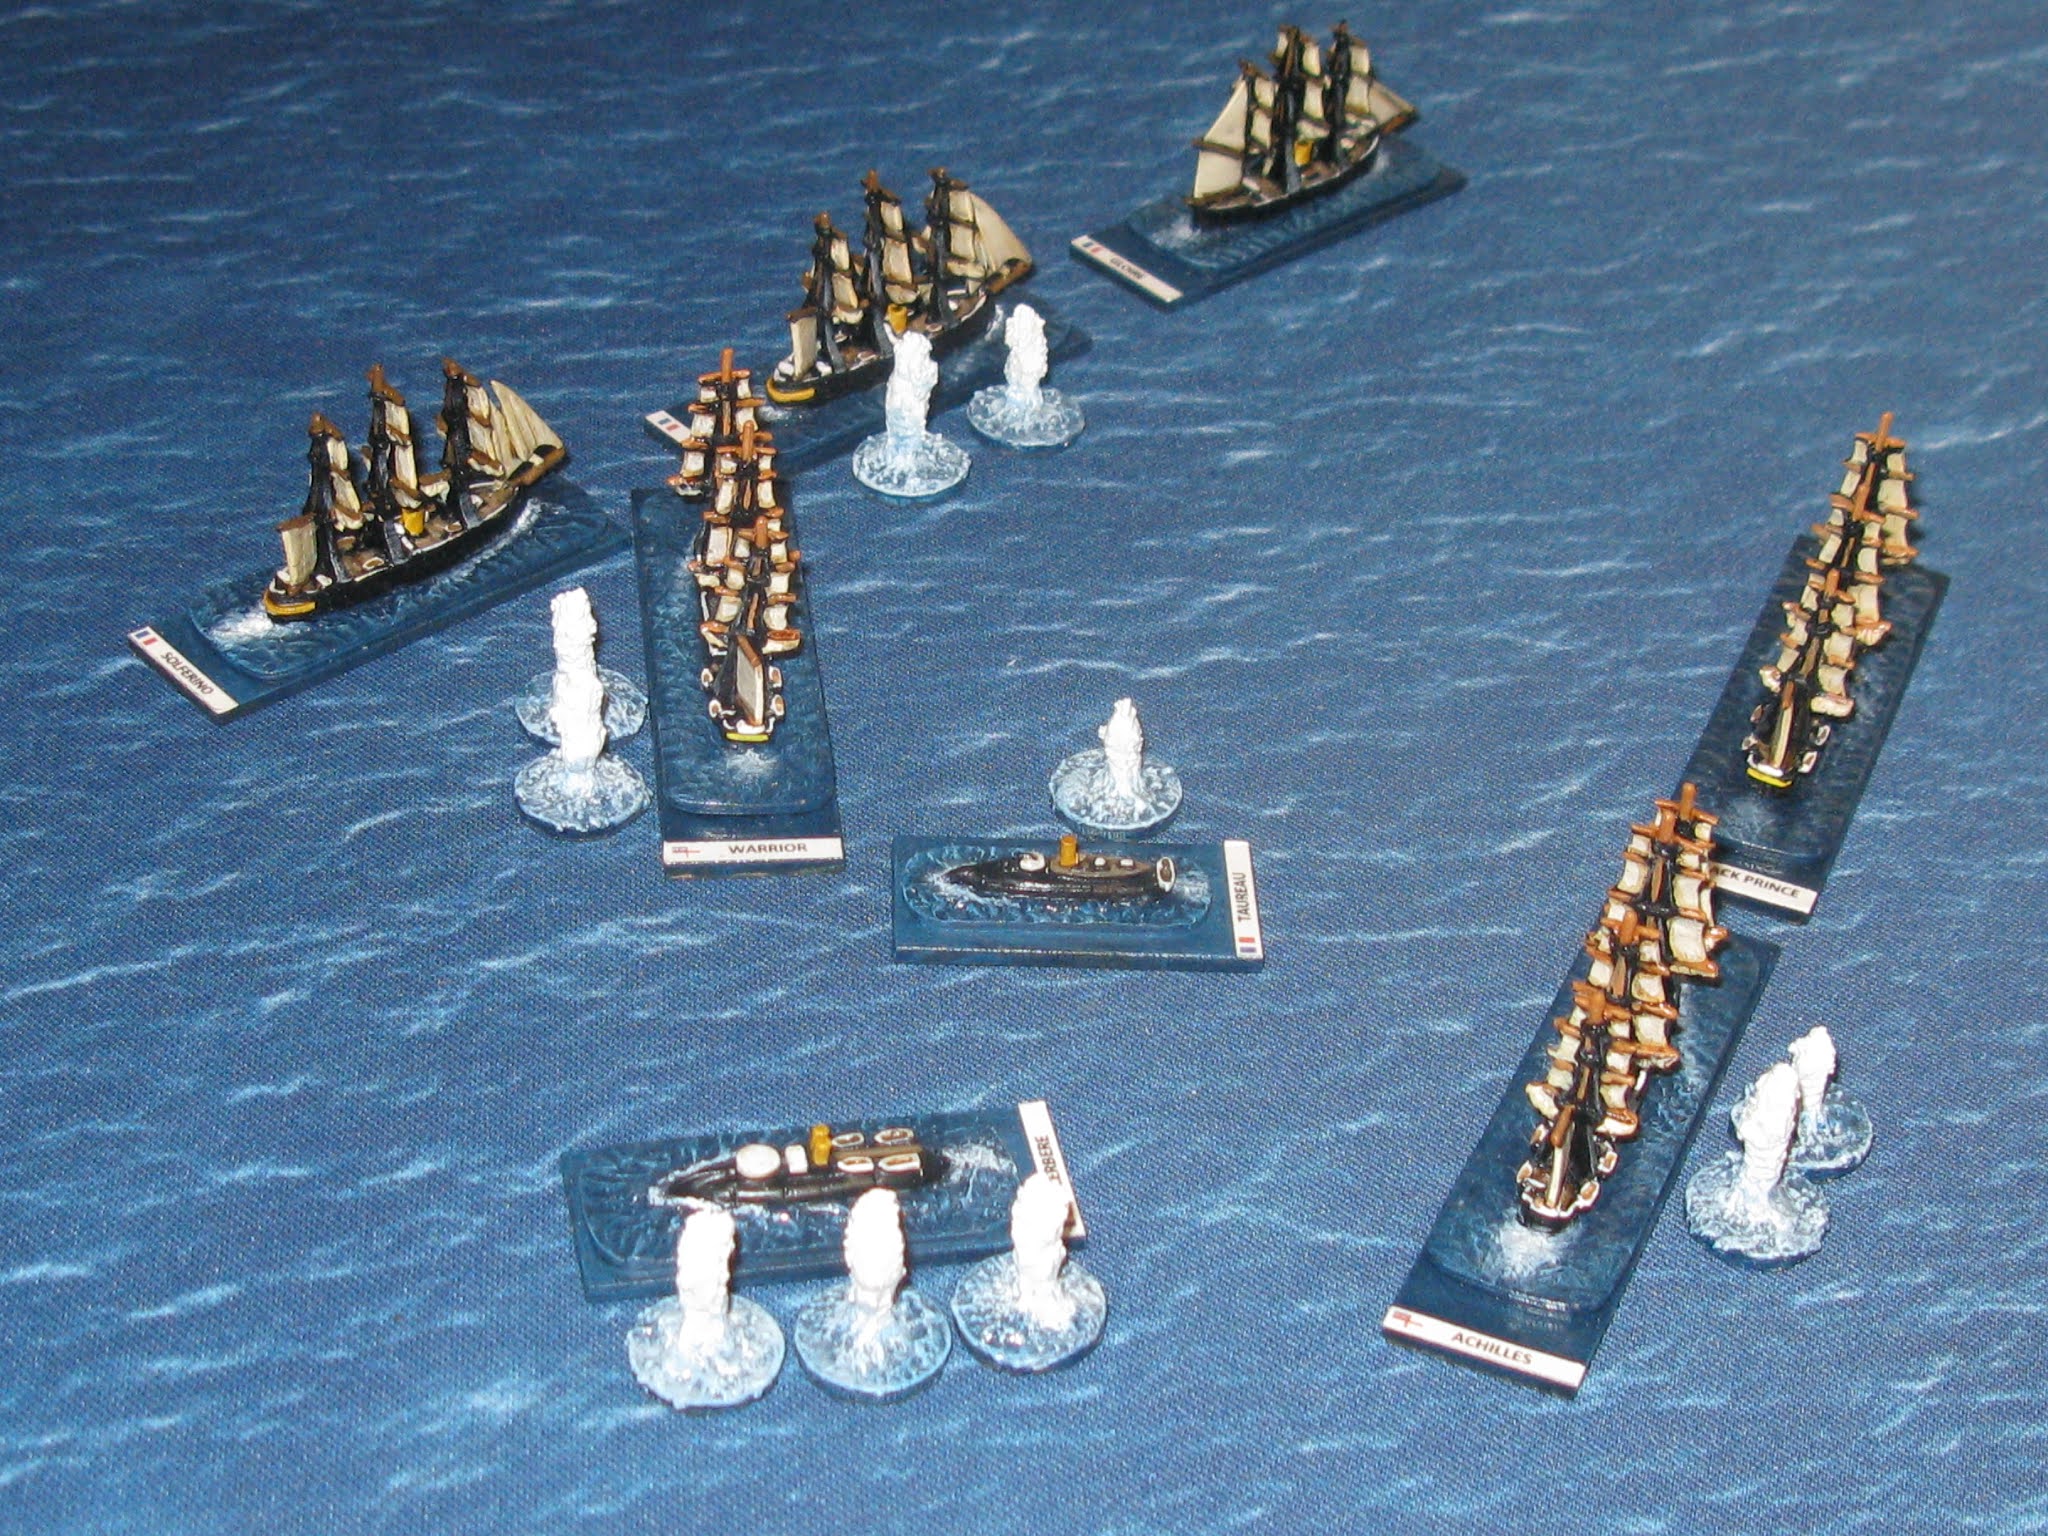
I played out the Convoy Action off Ushant scenario for Broadside and Ram yesterday and it was really good fun, despite running it as a solo game. The Royal Navy squadron consisted of HMS Wyvern, HMS Warrior, HMS Black Prince and HMS Achilles, while the French convoy consisted of Magenta and Solferino as transports, led by the Gloire. The coastal defence squadron send out to escort the convoy into Brest, consisted of the ironclad rams Cerbere, Belier, Tigre and Taureau, with the monitor Onondaga for added fire support.


The game got off to a swift start, with the mist clearing by turn two, so that the convoy was revealed to the blockading British squadron. The slower Wyvern was released as an independent command, so that the main squadron could intercept the convoy, which went full steam ahead for the other end of the table. In turn three, the escorting coastal defence squadron entered the scene and immediately steered to place itself between the oncoming British and the French convoy.


The action really kicked off in turn six, when the convoy and escorts came into range of the British ironclads. In the initial exchange of fire, the Royal Navy came off worse with damage to the Warrior and Wyvern silenced, although silencing Magenta in return. In turn seven, the coastal squadron commander released his ships for independent action, with orders to ram the enemy ironclads at full steam ahead, picking their targets individually as they approached in an oblique line astern.


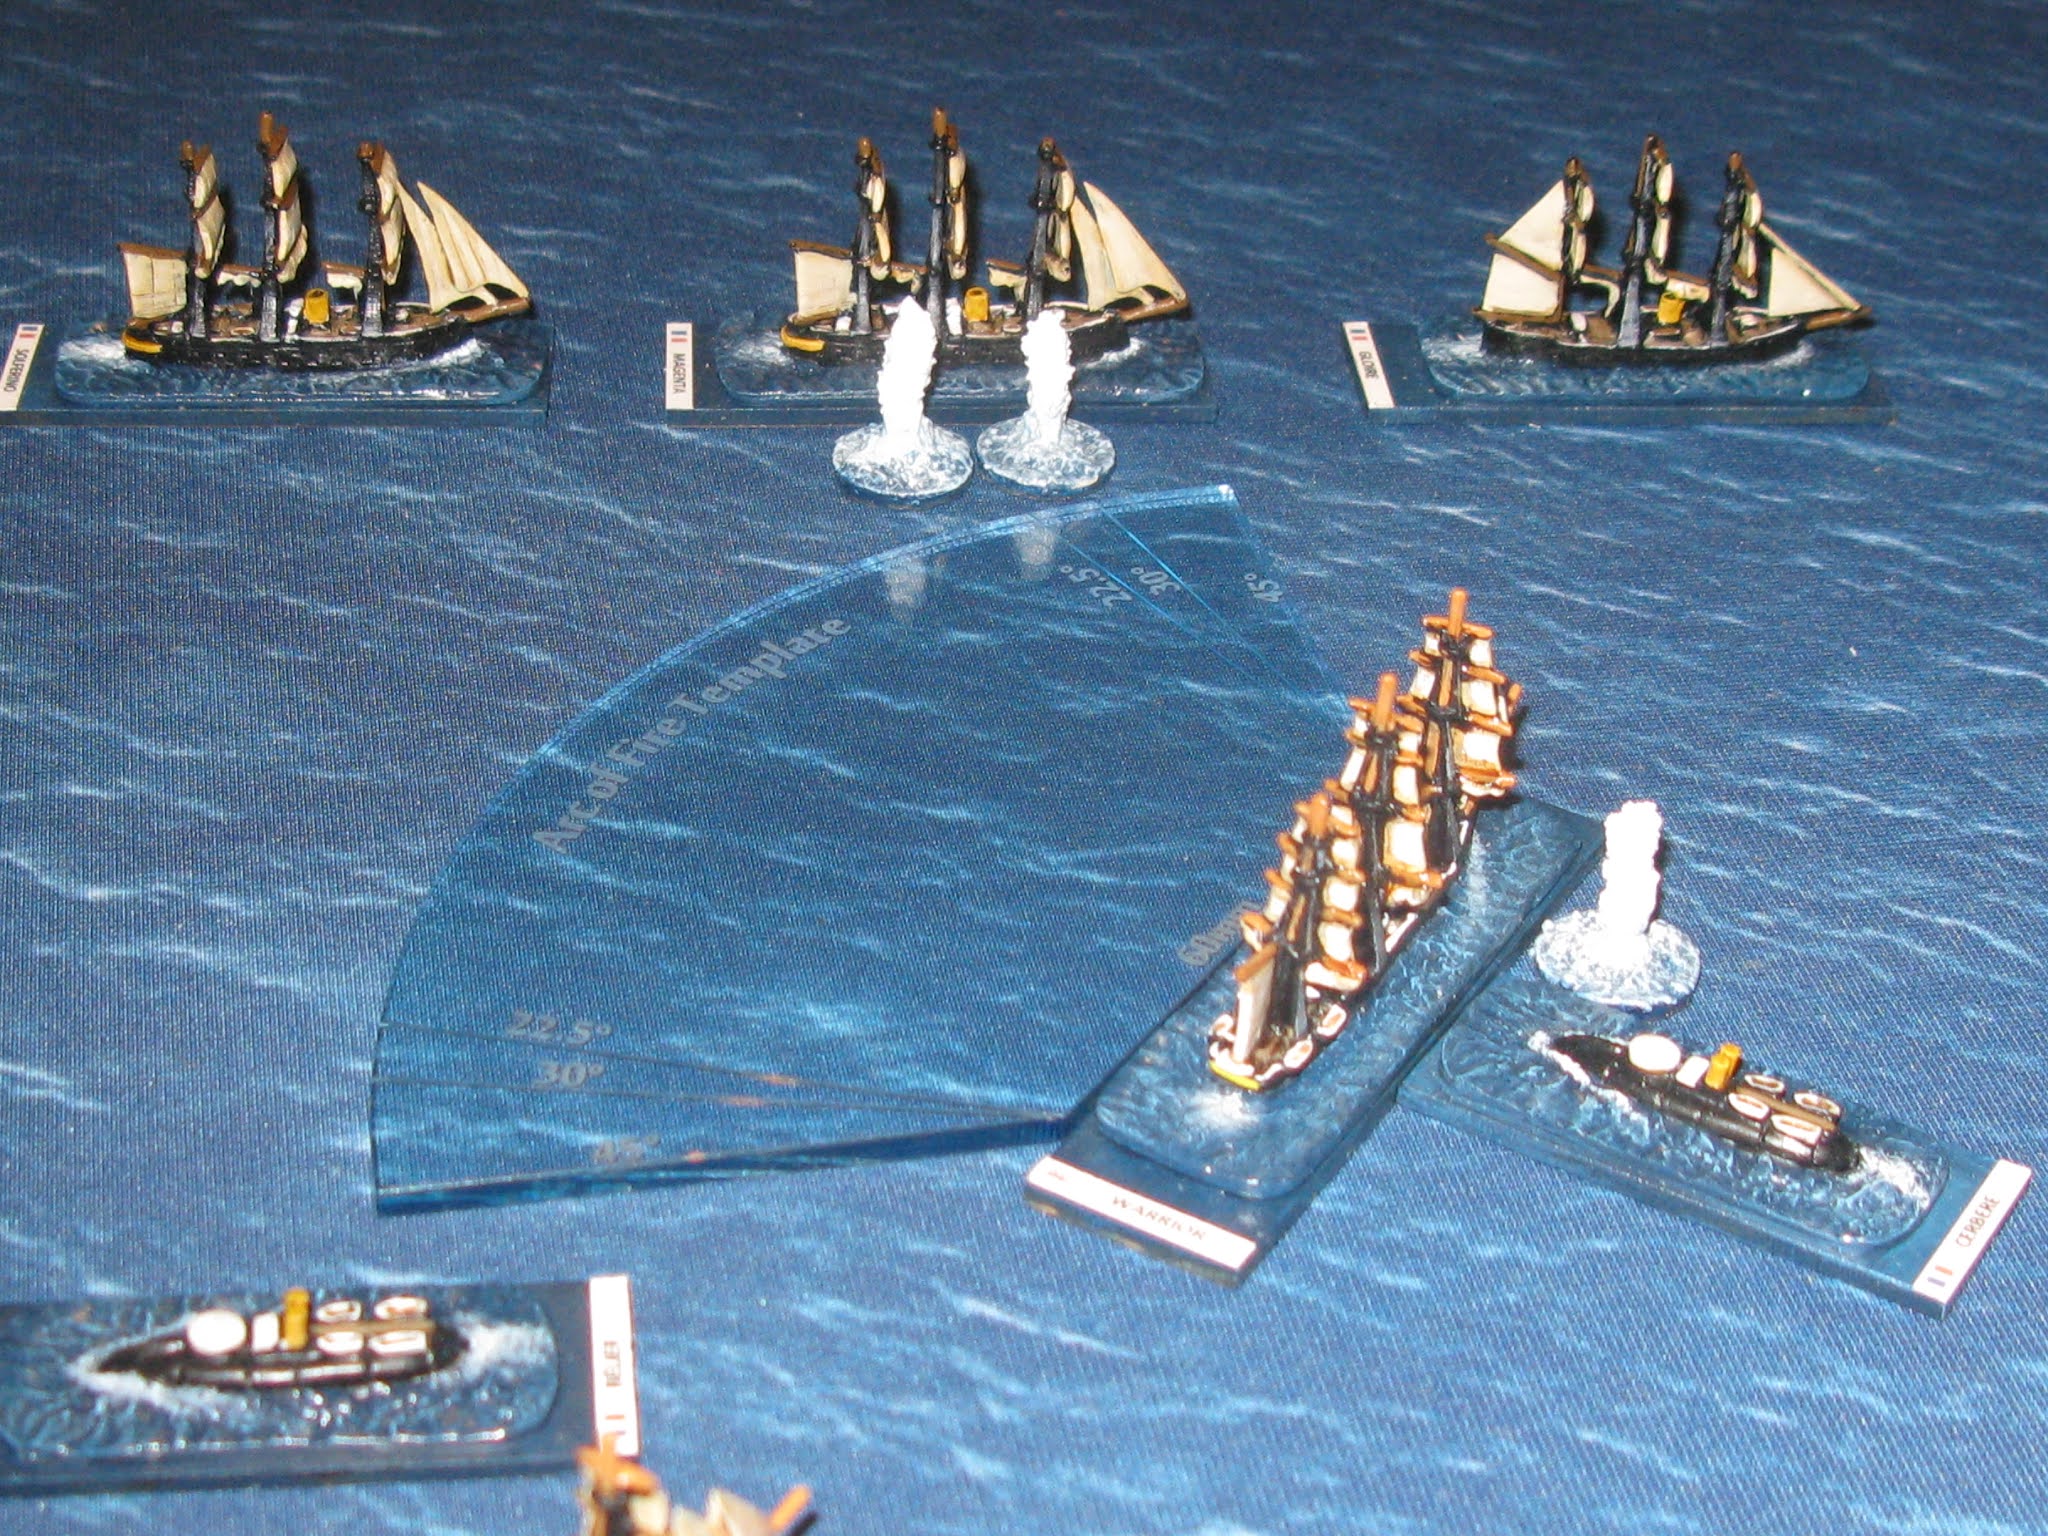


The British responded with shot and shell to deter the advancing rams but failed to stop the Cebere from gaining a good ramming course. This put the British commander in a tricky spot, as the Warrior had to accelerate out of the path of the Cerbere, while taking fire from the convoy which left her silenced. The gap wasn’t big enough, however, and the Cebere struck home, crippling the Warrior with a full side on ram attack.


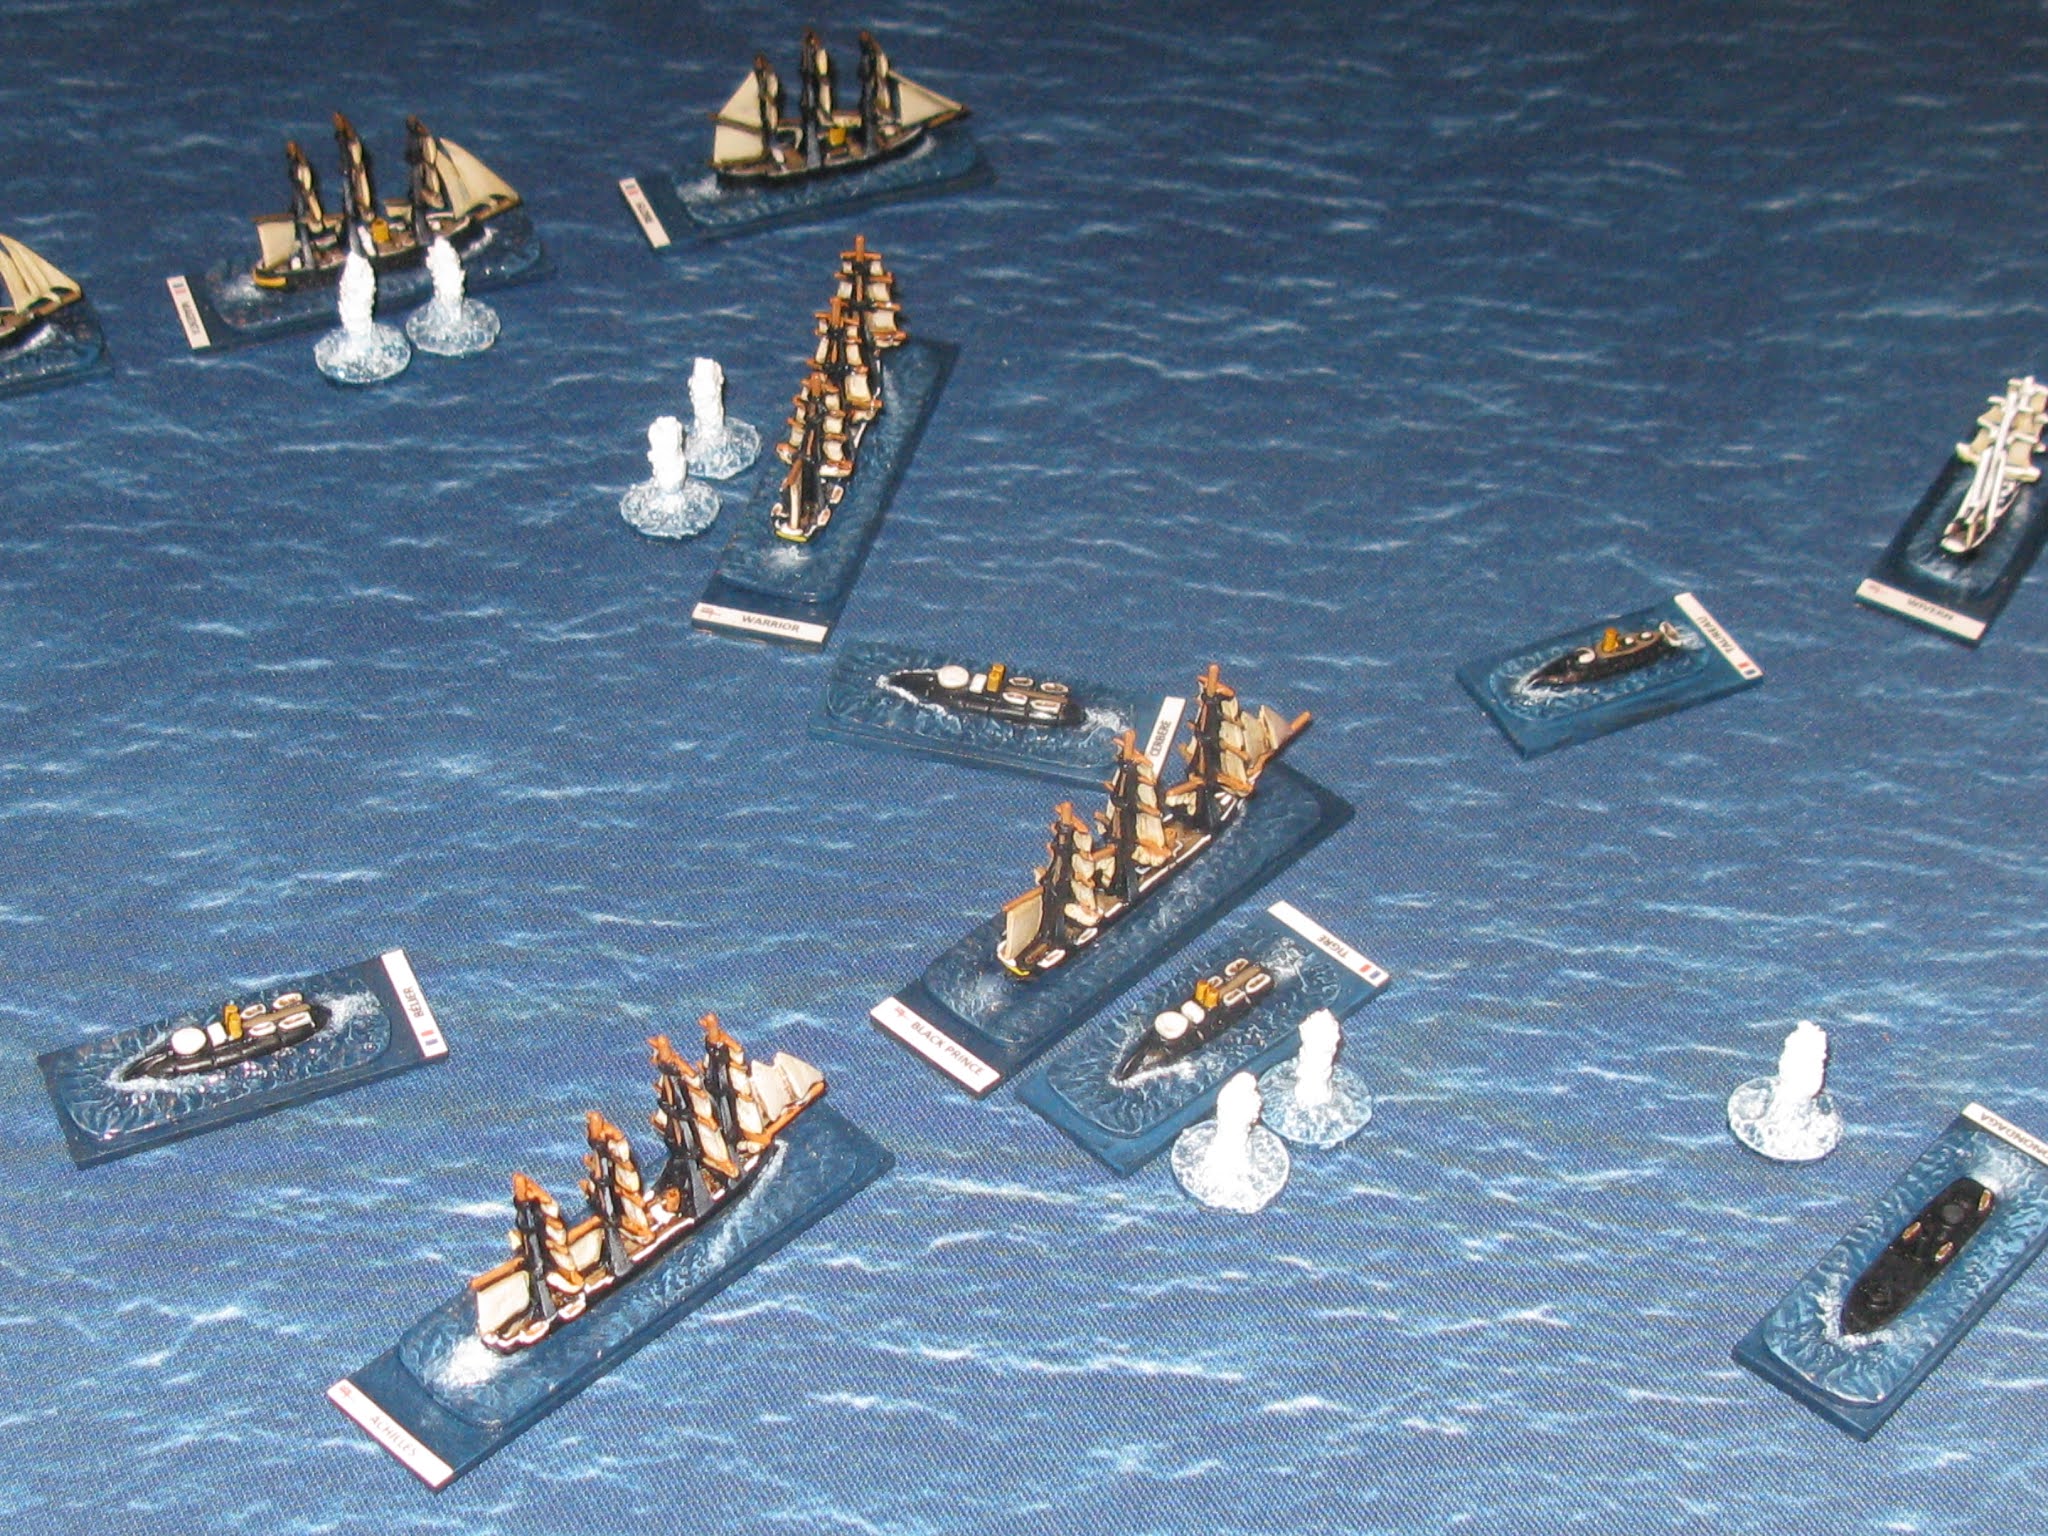
The other British ironclads and the now dispersed French coastal squadron traded fire with little effect, while the French convoy managed to keep steaming forwards without suffering much damage, as it was either out of range or outside the firing arc of the British ships. In turn eight, the action was fast and furious, with shot and shell flying in all directions. The French rams were hammered but the British ironclads also suffered, with Achilles damaged and Warrior either silenced or crippled despite frantic repairs. She was even rammed a second time by the Taureau but survived.


In a last attempt to stop the convoy, the Warrior attempted to ram the Magenta but misjudged it. The Solferino was damaged by the Black Prince, however, which then turned 45 degrees to port and rammed her amidships. This silenced the Solferino and effectively stopped her in the water, allowing the rest of the convoy to escape, albeit with Magenta damaged. I decided to call it a day, with a minor French victory according to the scenario victory conditions.
At the end of the action, the Magenta and Solferino were silenced, the latter having been boarded and captured by the Black Prince (I rolled a 6 on a D6 to decide if this boarding action was won, with a score of 4-6 being a success), while the Gloire escaped undamaged. The French coastal squadron was hammered, with Tigre and Cebere silenced, Taureau damaged but Onondaga and Belier escaping undamaged. The Royal Navy also suffered some scratched paintwork, however, with Warrior repaired to damaged and Black Prince damaged, but Achilles and Wyvern silenced.
The scenario was good fun and worked really well. I think the French tactics were the key to their success, blocking the British from intercepting the French convoy and using their ramming capability to full effect. The Royal Navy had it’s hands full despite the strength of the ironclad squadron, but did achieve at least part of its objective with the capture of the Solferino. It did give me a chance to further test my revised ramming rules, which worked well without unbalancing the game, but I do need to have a think about how squadrons change formation from linear to line abreast or echelon and about some better rule for boarding actions.
I’ll just have to write another scenario!
Dieser Artikel stammt von einer der angeschlossenen Quellen. Bitte honoriere die Arbeit der Autoren indem du ihren Webseite besuchst.
Artikelquelle besuchen
Autor: Jim Jackaman / Jim’s Wargames Workbench
Powered by WPeMatico