Lost Giants of the Congo.
Hosting and playing ‘Congo’ during the summer was, in many ways, the highlight of my hobby year. I thoroughly enjoyed the planning, preparation and participation of the day, but when the dust settled I was left feeling somewhat spent. This combined with a particularly busy start to the academic year has meant that the hobby has been sidelined of late.


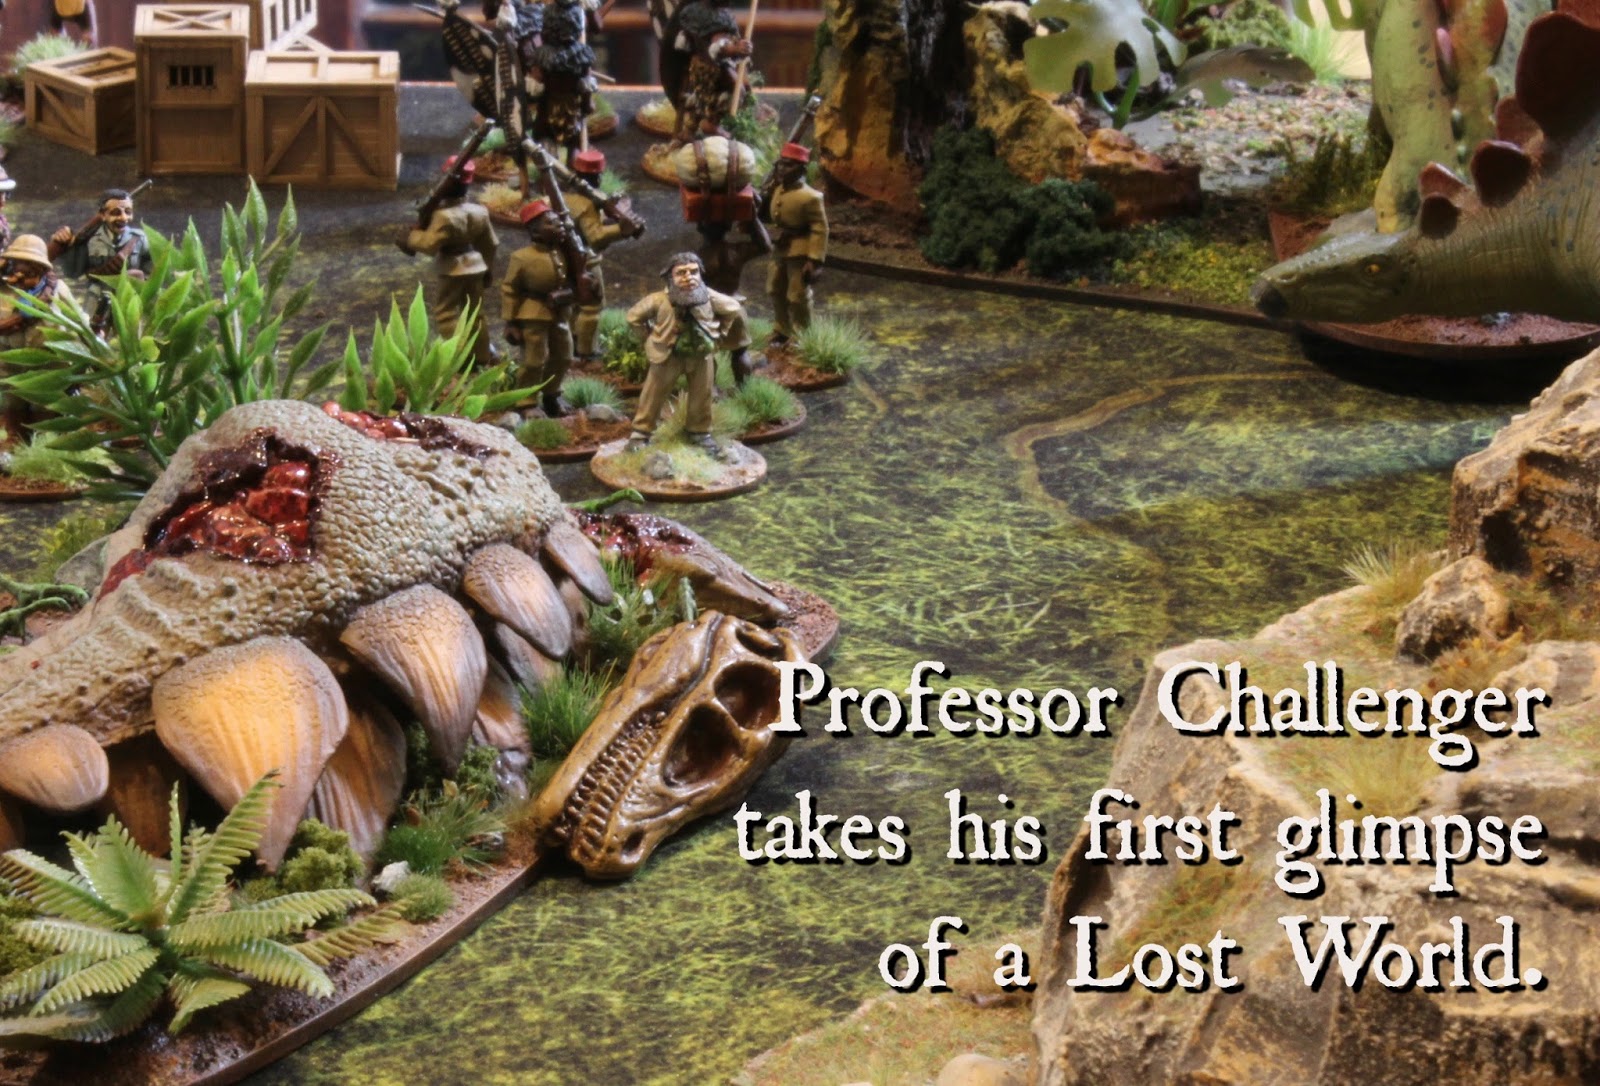
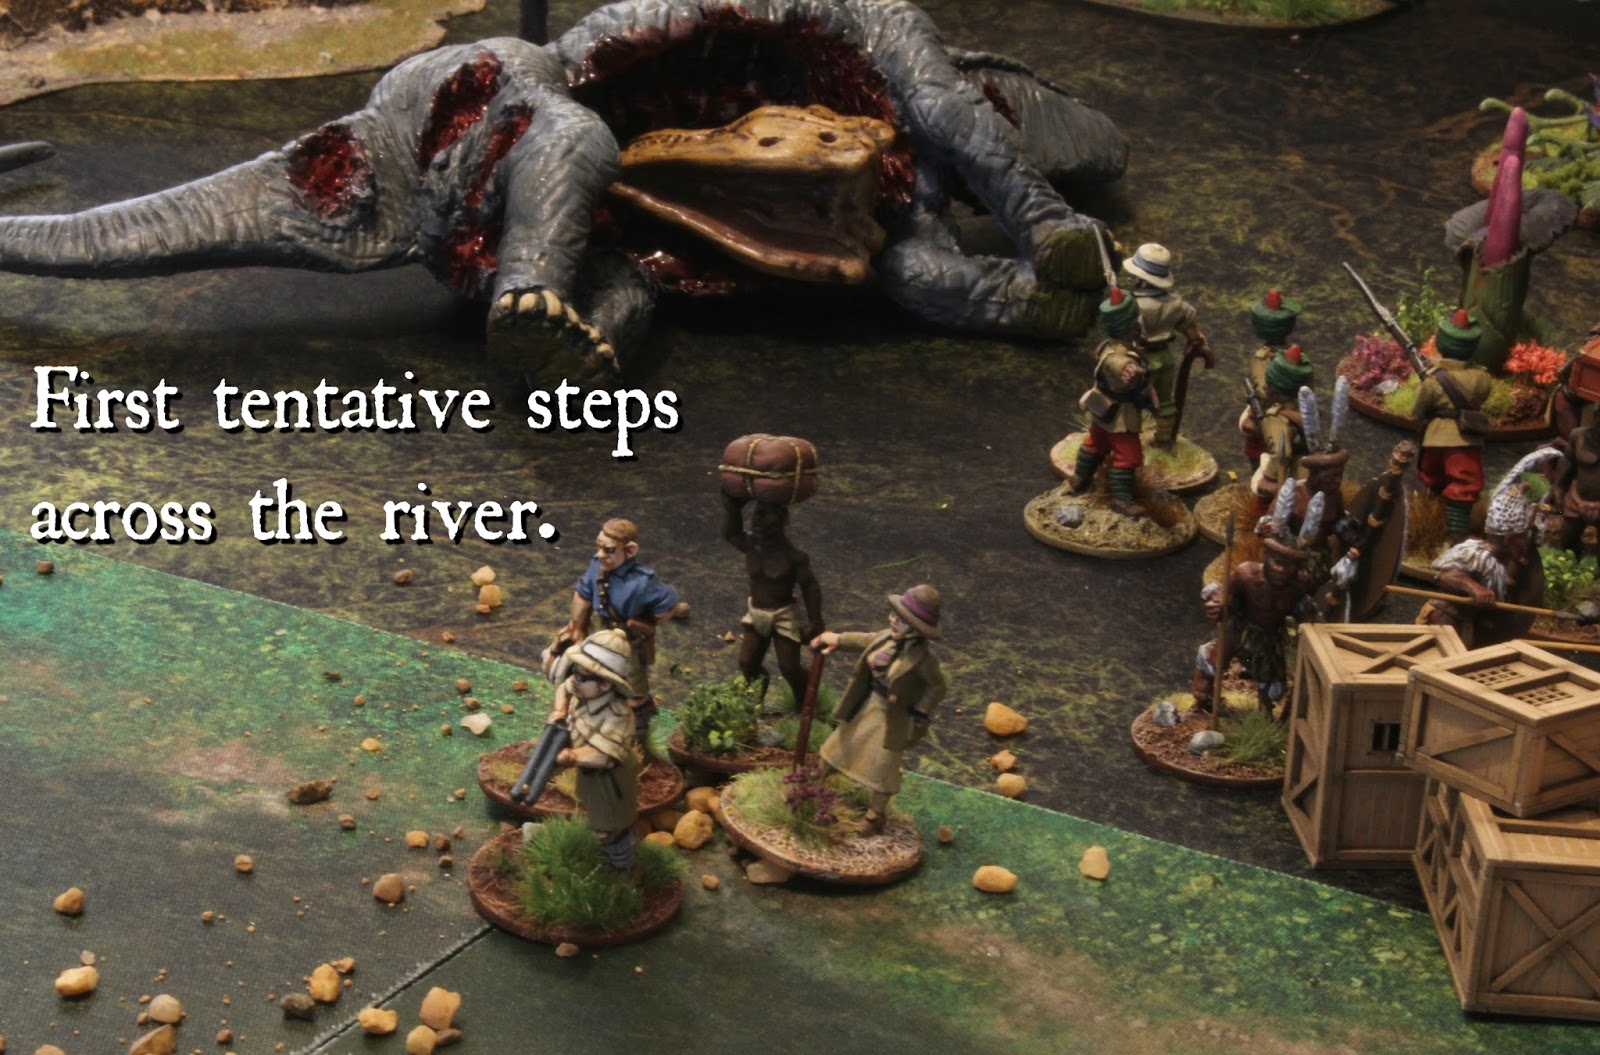
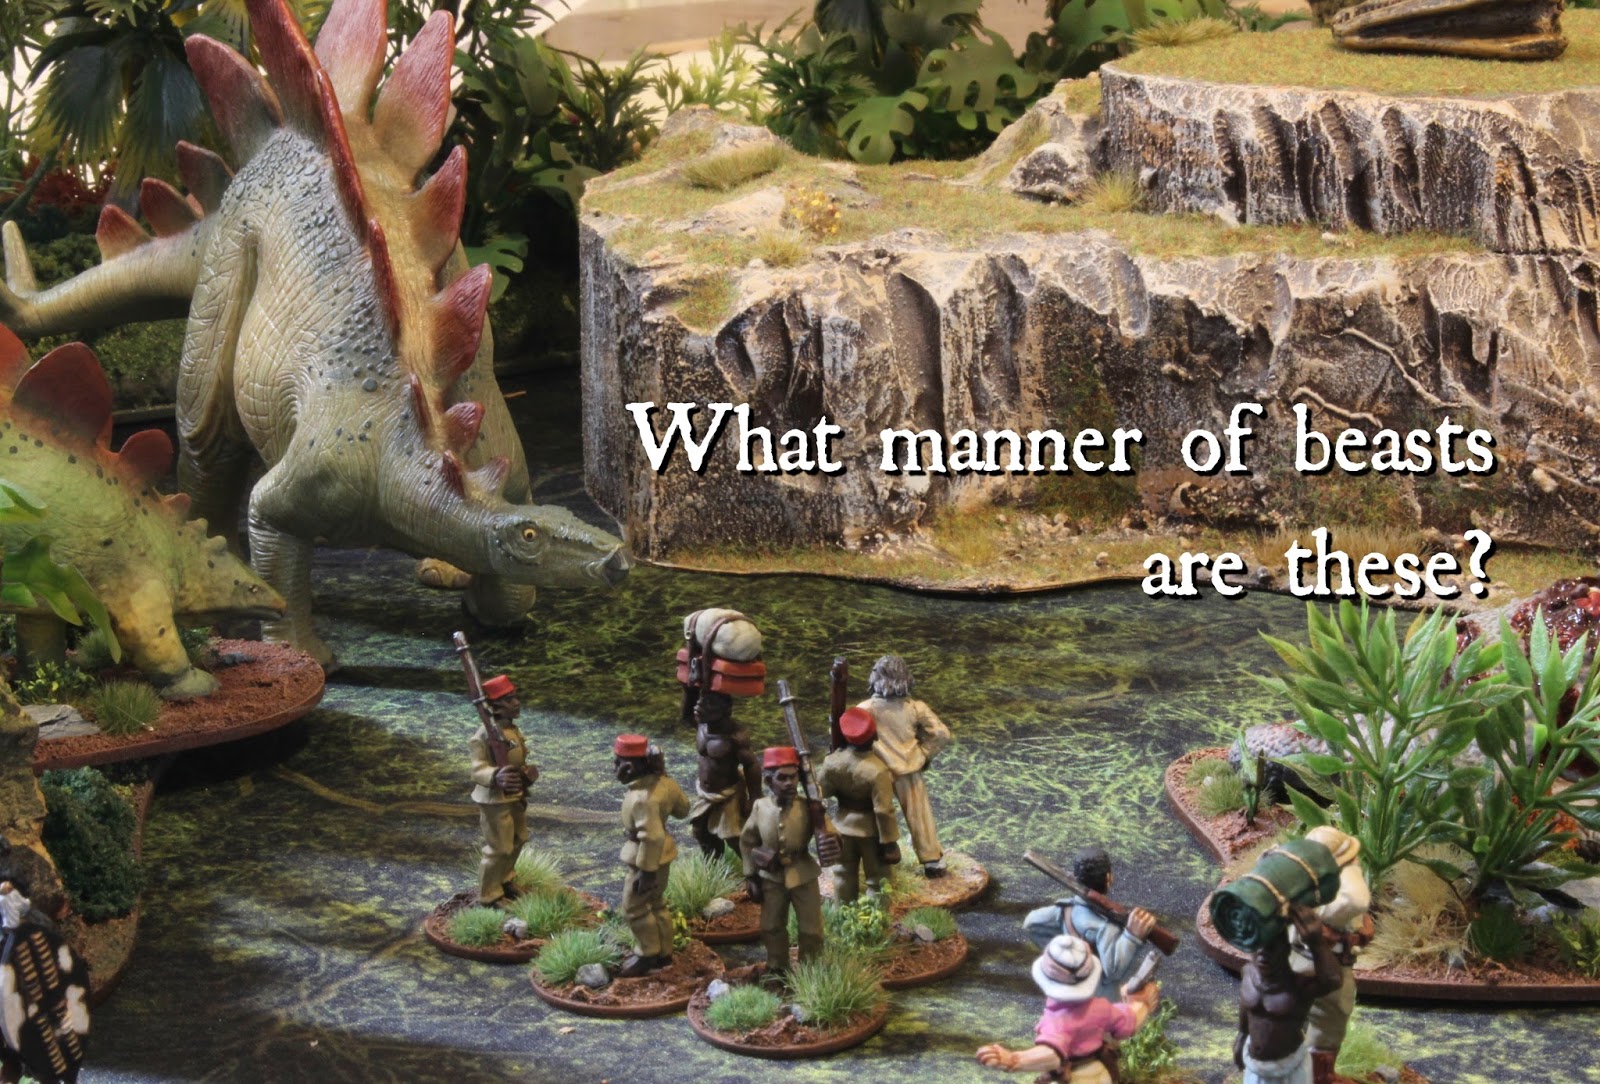
In the opening round, Professor Challenger and his adventurers move into the clearing to witness all manner of strange creatures and exotic flora. Similarly, on the other side of the clearing Colonel Hammond’s column enters the fray, with one group crossing the river. In this scenario anytime a group finds itself in the water they must roll a D6 to see what happens. Conditions vary from a spooked native that runs away never to be seen again to a mighty Sauropod rising from the murky depths to attack the group. In this instance nothing untoward happens. In round two the Scientists are rooted to the spot, a combination of the cards drawn and the wondrous sights around them. Meanwhile Col. Hammond moves two teams into position and bags the first piece of loot! The final round sees three successful terror attacks launched on the Colonel’s various groups. This leaves his young warriors looking decidedly shaky.
Turn#2


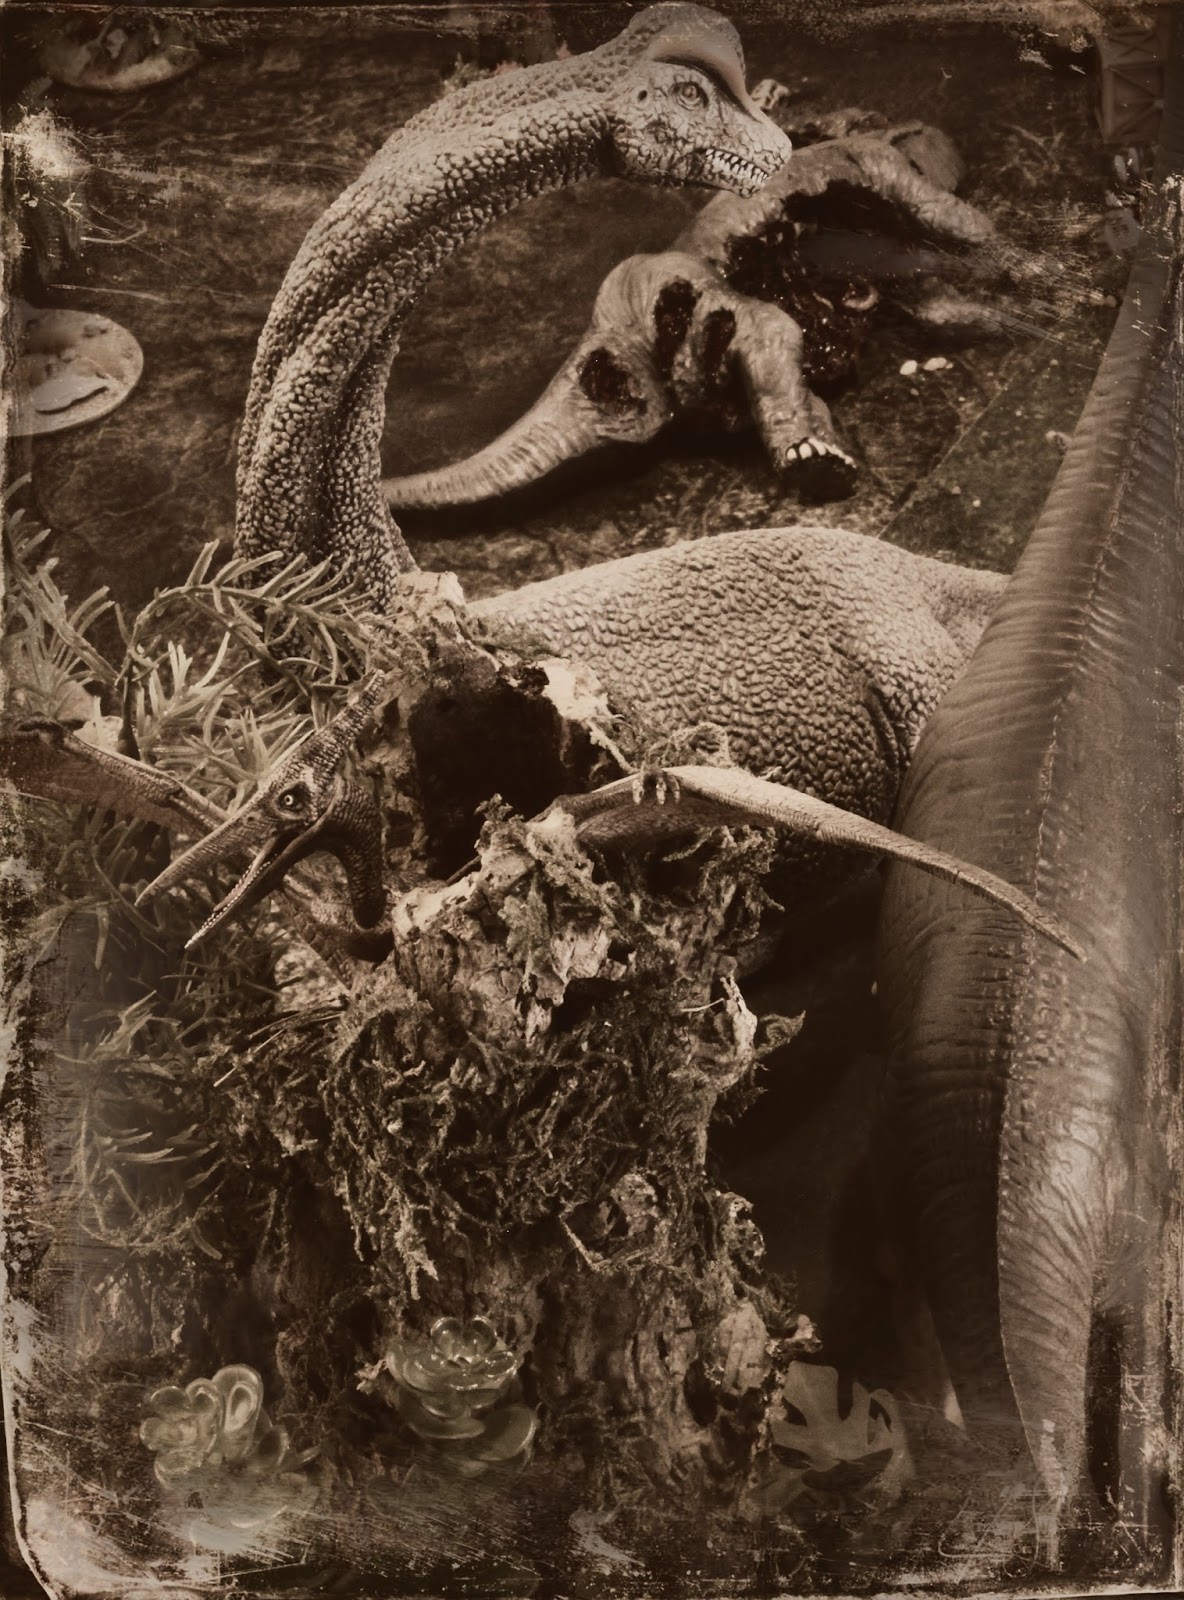
As Professor Challenger explores the rocky escarpment he rolls a 4 and a 7 on the terrain table, which inadvertently generates some loot placed particularly close to the other groups; they are apparently on sacred ground where cult objects are scattered everywhere! Meanwhile his adventurers, exploring the worryingly savaged remains of a Stegosaurs roll a 6 and 9 – Dinosaurs! A bearer and a fat adventurer are instantly ripped to shreds!


Turn#3
Colonel Hammond has the initiative and chooses to discard a totem card to reduce the stress of the young warriors, all the time his band of Ruga Ruga edge closer to their goal. Meanwhile, having got safely across the river, Professor Challenger’s Ruga Ruga enter the terrain in search of what could prove to be the final piece of evidence required to convince the Royal Society that dinosaurs still roamed this earth. They roll a 3 and a 2, receiving a good omen that allows them to take back a totem card. With the +1 action card re-gained the fearless adventurers activate to force another melee with the dinosaur – a draw!
The Colonel’s young warriors head back across the river, but are spooked again at the boiling water, what terrors lie beneath the greasy, green surface? More encouraging news for the embittered veteran came in the form of his trusty adventurers who had rallied themselves and had started to make their descent with their prize in tow.
The Professor’s Ruga Ruga move back through the water and draw a movement stress token, whilst his adventurers force another draw with the defiant Velociraptor. Another three rounds of terror attacks from both sides see out the turn.


Turn#4
The action was coming to a head at this point and Colonel Hammond, eager to steal the initiate, uses a totem card to remove a stress token and then tries to rally his young warriors to reduce two more. At the same time his adventurers move into the river, but their bearer is spooked and runs away – this wasn’t part of the plan!
In stark contrast, Professor Challenger’s Ruga Ruga move through the water, they are still jittery and draw a stress token, but emerge safely on the other side and off the table. Requiring just one more piece of irrefutable evidence before the column can start to make its way home the Professor’s adventurers try to overcome the dreaded dinosaur. There is a deafening roar of gunshots and as the acrid smoke lifted on the brutal encounter it was clear that the beast was finally defeated. Making use of their +1 scale totem card, the adventurers make it safely back to camp and win the game for the Professor.


A close run thing with a totem card handing the Professor the game. Neither column engaged the other in combat with both teams keeping to their side of the board. No Sauropods were activated by the river crossings and only one group of meat eaters was encountered. My interpretation of where the additional loot was distributed almost certainly dictated the nature of the game and because I was playing this as a solo encounter it descended into more of a sprint to get the evidence off the table, fortune and glory being the order of the day; not, I hasten to add, that this made it any less exciting. At any given moment there was the real possibility of the giant Saurapods causing havoc at the crossings or the ferocious Velociraptors springing forward from the rocky outcrops to disembowel any adventurer unfortunate to be in range of their razor sharp talons.
Dieser Artikel stammt von einer der angeschlossenen Quellen. Bitte honoriere die Arbeit der Autoren indem du ihren Webseite besuchst.
Artikelquelle besuchen
Autor: Michael Awdry28mm Victorian Warfare28mm Victorian Warfare28mm Victorian Warfare
Powered by WPeMatico