My islands for Warlord’s „Black Seas“, and a How To…

Hi all!
Well, like many of you, I am super excited for Warlord Game’s newest offering, „Black Seas.“ I saw the ships, and while I’ve always wanted a ship collection, this is the one that really sucked me in. So I bought a few sets on pre-order, and then thought ‚Self… it’s time to make terrain!“
So this past weekend I went ahead and made a board and some islands!

So the board was simple… just a piece of ply, spraypainted with several blues, and then some random lines and chart-like things drawn on with a paint marker.
Here are some of the islands!

Island #1: a super cool arch. The beaches are actually courtesy of a buddy’s idea… it’s just kinetic sand, a toy made for kids! It holds together, and can be sculpted easily, and can be picked up, piece of cake!

Island #2: which features a lighthouse! The lighthouse, btw, is the cap of a bic pen with a bit of wood for the door area, and then on top a small button topped off with an unused dial-holder from X-Wing. A little paint and voila!

Island #3: with a little cove.

Island #4: A flatter one, with cliffs on one side.

Island #5: my „tabletop“ island.

Island #6: the largest one, very flat but with a hilly part at the end.

And Island #7: the double table top!

And here are some rocky outcroppings that a buddy gave to me years ago, which never really found a home… but they have now!

So… here is a little simple guide to how I made them! First, of course, I had to clear a workspace. I worked in the garage, because I knew I’d need some room, and I wanted to be able to spraypaint easily.
Now, the bases for the islands were some some 3D printed hills made by Ghiniflip, on ebay. But they come totally unfinished, so I knew I’d have to make them look nice.

Here is my assorted flocking and basing material.

And some palm trees, purchased at Fall In some years ago.

So here is what they look like, when they come.

Back and simple.
Here is one of the larger islands, which I had to glue together.

Once I glued the larger ones together, I then went in and sanded all of the flat areas with a very fine grain sand. A little white glue held it all on.

Here they all are, sanded.

The double tabletop, with the sand.

Next up I added a larger grain sand where there would be tumbling rocks and the like.

Here is the lighthouse island, with the larger sand.

And the cove, again with the larger sand. You can see where I tried to add it.

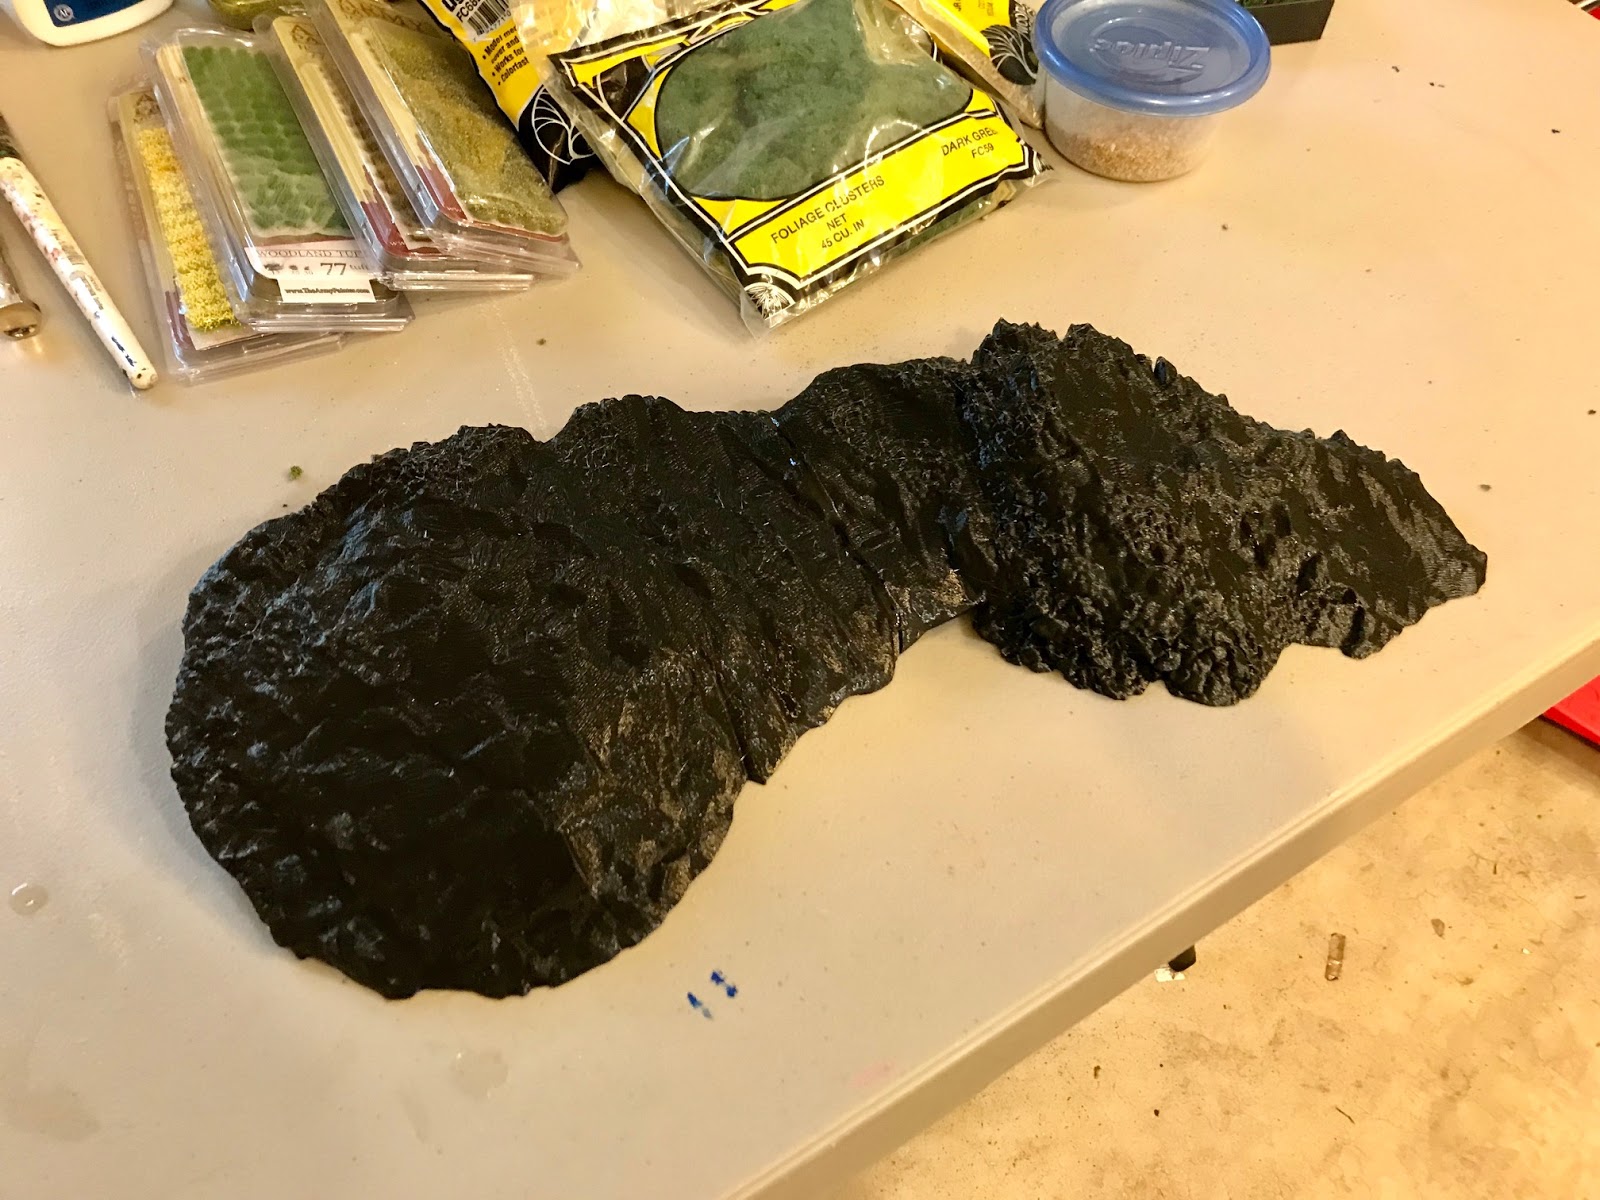
Once they were sanded, I just had to undercoat them all black.

Then came painting! I did the first layer in burnt umber, and then built that up with two lighter shades. I actually used gray, which isn’t pictured here.

Here they are with the first few layers of paint.

Then came flocking! I flocked in five steps. First, the basic flock. Then a lighter flock in a few, higher-up spots. Then some bushes and the like in the same places I put the larger sand. Then an assortment of tufts. And finally, the palm trees!

Here the islands are with just the two layers of flock, the underlayer and the lighter top highlight layer.

And here is one island with the superflock (the bushes) tufts and a tree!
Overall I’m SUPER happy with how they turned out… now I just need some ships!

Oh, and here is what’s on the other table right now… a Napoleonic battle between my son and me:)
Anyway… thanks for coming by to look, and feel free to ask any questions you’d like!:)
Dieser Artikel stammt von einer der angeschlossenen Quellen. Bitte honoriere die Arbeit der Autoren indem du ihren Webseite besuchst.
Artikelquelle besuchen
Autor: Unknown / Lord Ashram’s House of War
Powered by WPeMatico