Sharp Practice refresher
French Revolution, Belgium 1794, the Austrians have to get the two wagons with supplies from their deployment point to the other end of the table. Now straight away I thought I’d place my dp close to the enemy and near to a house which if occupied would dominate the road, all very well but if the Austrians pushed on hard before my troops came on the table I was screwed!

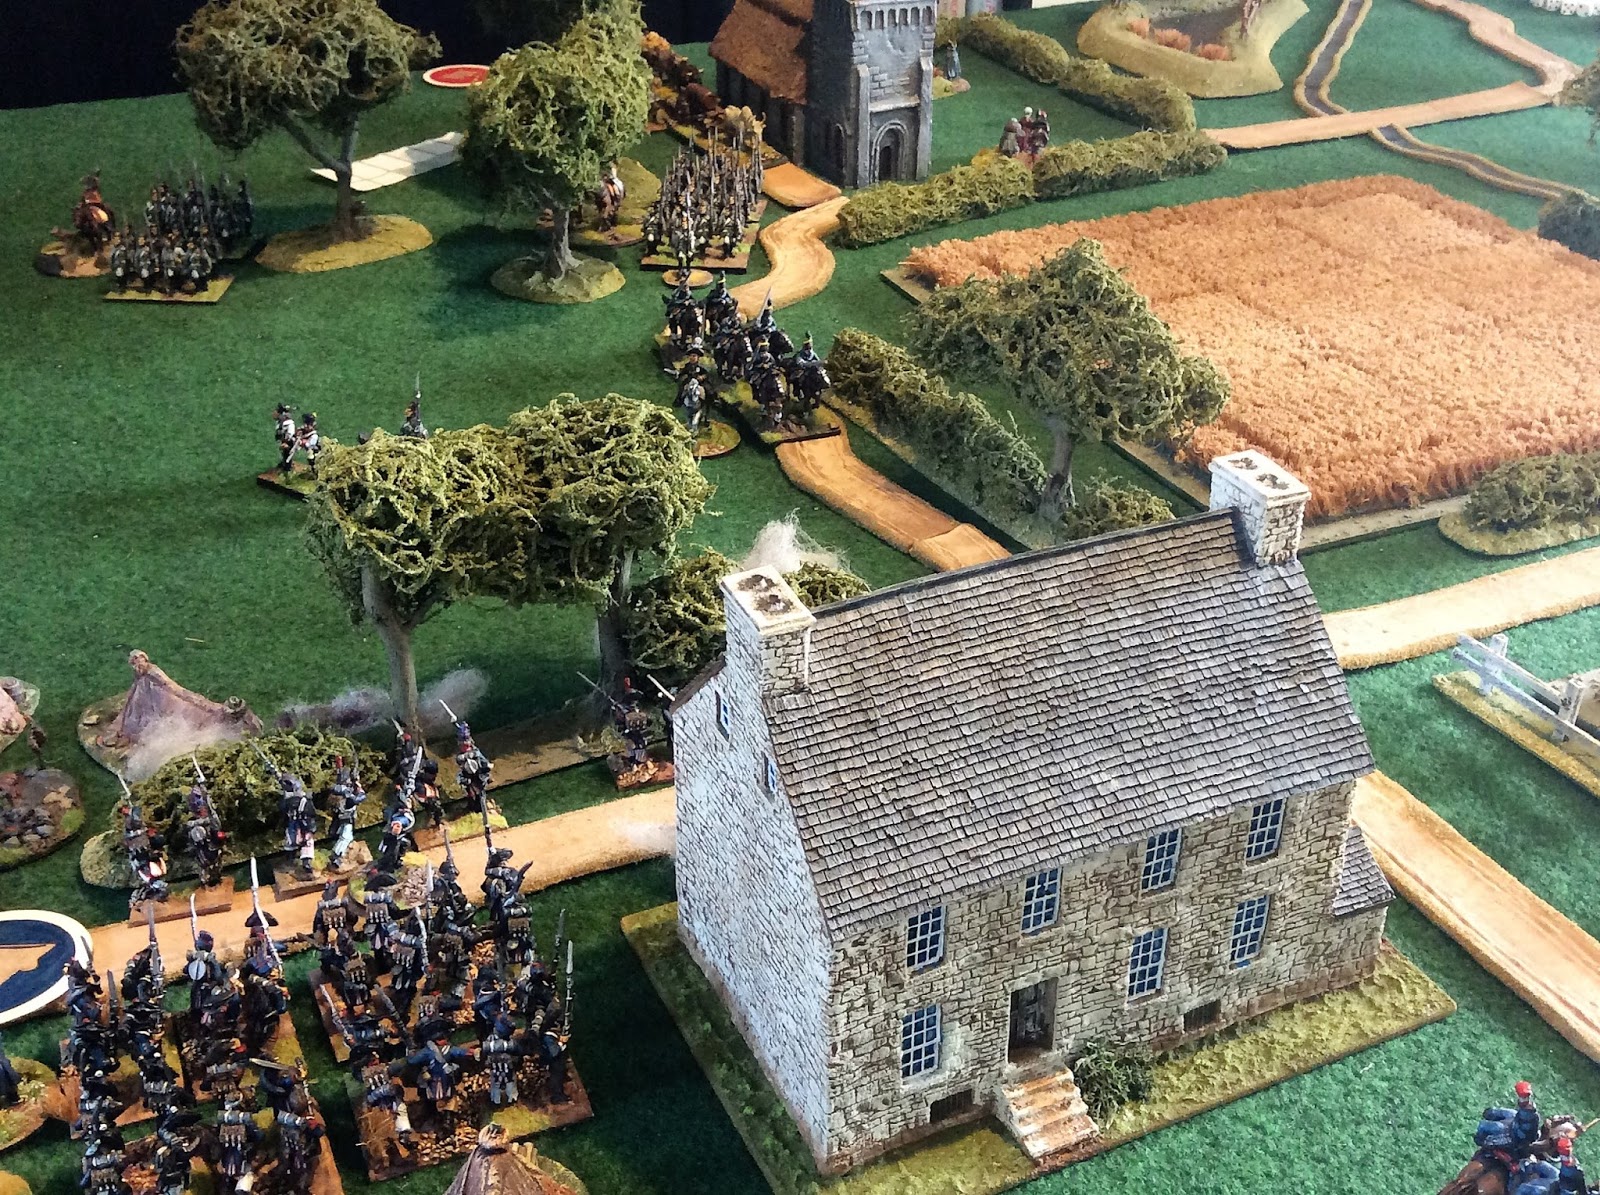
Fortunately the Republicans deployed successfully, two skirmish groups at the hedge line, one upstairs in the house and a unit of four groups of Le Blues supporting them. Hussars and another skirmish group in reserve.
The Austrians can be seen pushing up the road and approaching my tents.

The two Austrian wagons in the rear which in the end played no part in the game as it turned out to be a straight up fight between the two forces. My fault I should have designed the table set up better and split the forces.


The Austrian skirmishers pushing on towards my tents with their hussars in column on the road.


With first fire, leaders and a couple of command flags added the opening volleys from the French were pretty damned good, Austrian hussars shot from their horses and Austrian skirmishers skittled over. The hussars retreated the way they had come pulling up by a church in an attempt to rally off their shock. Great start for the gallant French (you can tell who’s side I was on), a successful ambush.

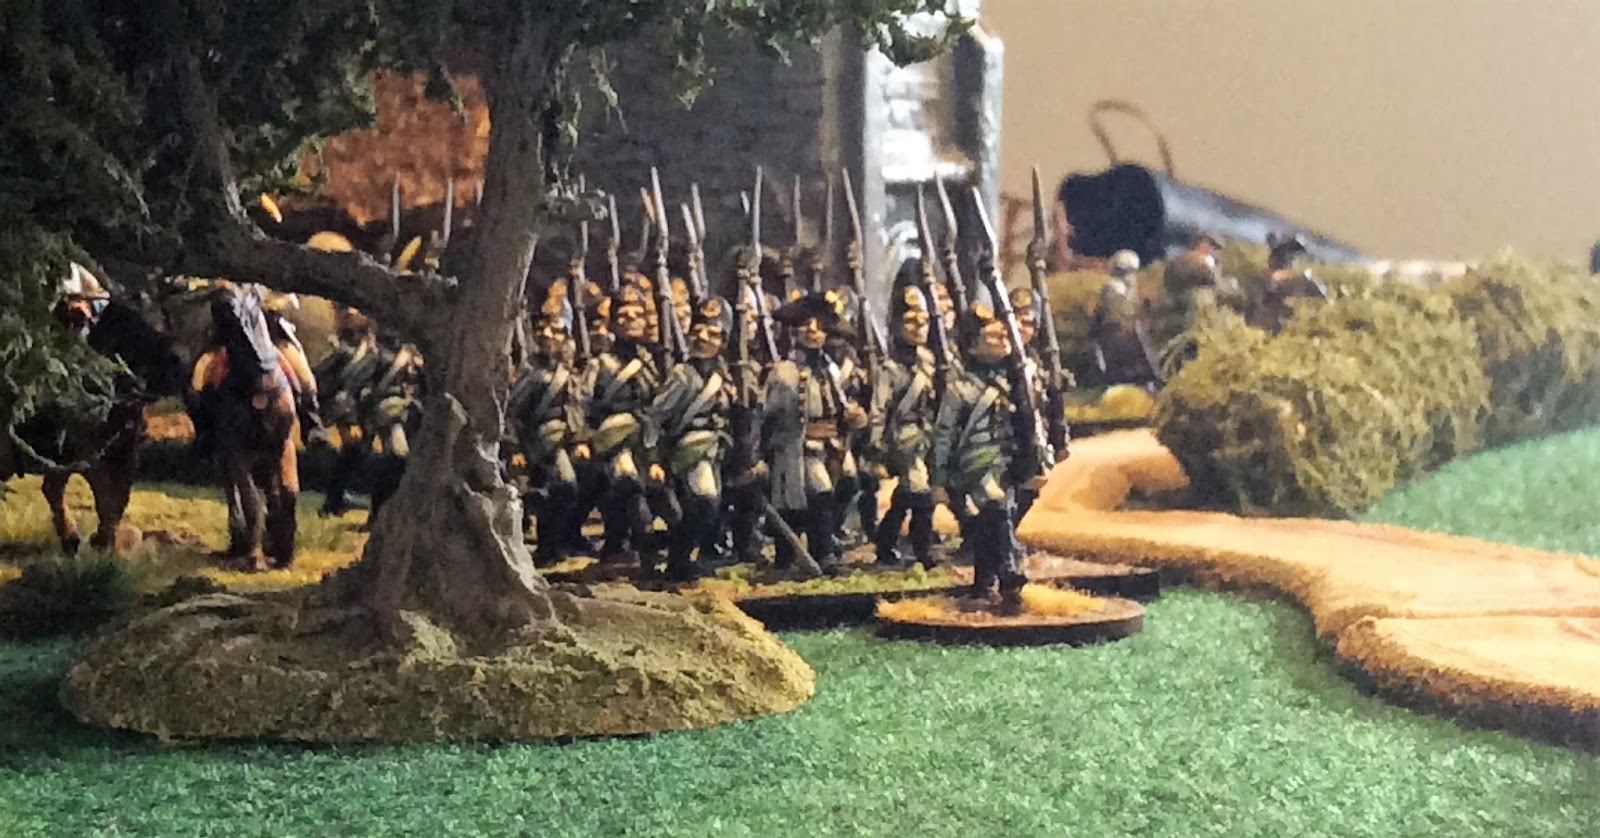

Now here’s trouble, five groups of trained Austrian infantry marching up to deal with the now rather cocky French.

In the mean time the French hussars swing round the flank into the open ground supported by the irregular skirmishers.


Now this is where it began to get nasty for the French. Peppering away at the Austrian line only did so much damage, especially as the level three leader and his pesky sergeant kept rallying off whatever shock they managed to put onto the regulars. The tokens came out well for Neal but he did play a blinder by half moving the line forward and then getting the regulars to present. This meant that the next turn the Austrians were firing controlled volleys. The result was inevitable, cover or no cover the French skirmishers were blown away!

Poor photo but two figures left from six and four points of shock mean that rout is on it’s way. The other figures are actually in the house behind.

A bit of damage to the Austrians but not much.


This is the after shot of the cavalry encounter on the French right. The French hussars galloped across fields and hedges to get to grips with the remains of their Austrian counterparts taking a few hits from Austrian skirmishers on the way. The Austrians having rallied off their shock from earlier counter charged and thoroughly trounced their ‚weedy cove‘ counterparts who gallantly fled back towards the sacred republic screaming betrayal all the way. Someone is for the guillotine!
As my force moral throw at the beginning of the game had been of my usual pathetic standard that was the end, I think I had asked too much of the somewhat limited capabilities of my men, the four group column didn’t even get into the fight but well done Neal – bastard!
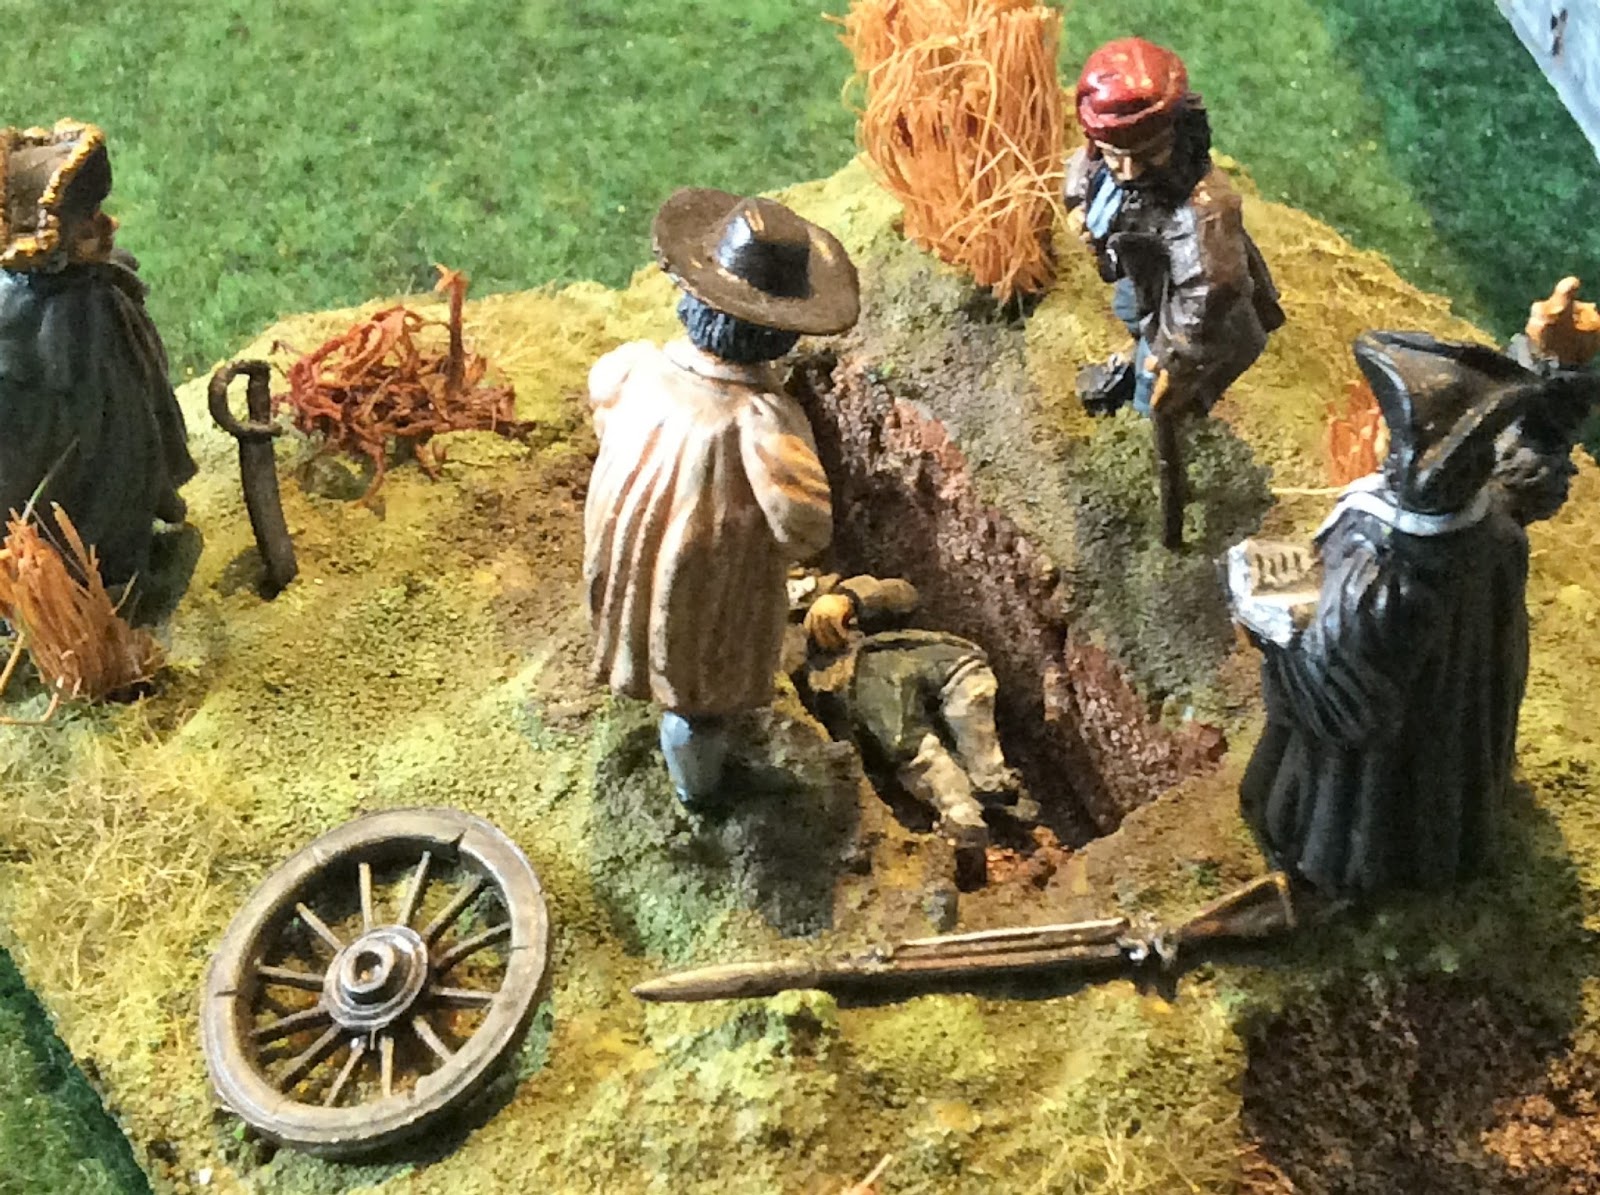
The first of many French dead to be placed in the ground.
Dave.
Dieser Artikel stammt von einer der angeschlossenen Quellen. Bitte honoriere die Arbeit der Autoren indem du ihren Webseite besuchst.
Artikelquelle besuchen
Autor: Dave Huntley (sheepman)The Northumbrian Wargamer.The Northumbrian Wargamer.The Northumbrian Wargamer.
Powered by WPeMatico