
The Battle of Killiecrankie 1689 – Jacobite Rising – Command and Colors.
In the absence of face to face gaming time to give Jacobite Rising a run through. Another offering from the guys from Command and Colors that I picked up on Kickstarter recently.
With 13 scenario’s in the rule book I thought I would play out a number of the encounters in solo play, First up the opening Battle at Killiecrankie 1689.
The English Parliament had replaced the Catholic King James VII with William of Orange and his wife Queen Mary, the Protestant daughter of James. The following year the Scottish Parliament voted in favour of doing the same with the crown of Scotland. Many Scots, mainly the Catholic and Episcopalian Highlanders, took exception to this and in response John Graham of Claverhouse, ‘Bonnie Dundee’ raised a force of mainly Highlanders loyal to James (called Jacobite’s) to contest this decision.
In response, the Scottish government assembled an army of mostly Lowland Scots to counter the rebellion. Under the command of General Hugh Mackay, the Government troops marched to intercept the rebels at the Killicrankie Pass near Blair Castle, on the key route into the Highlands from Perth.
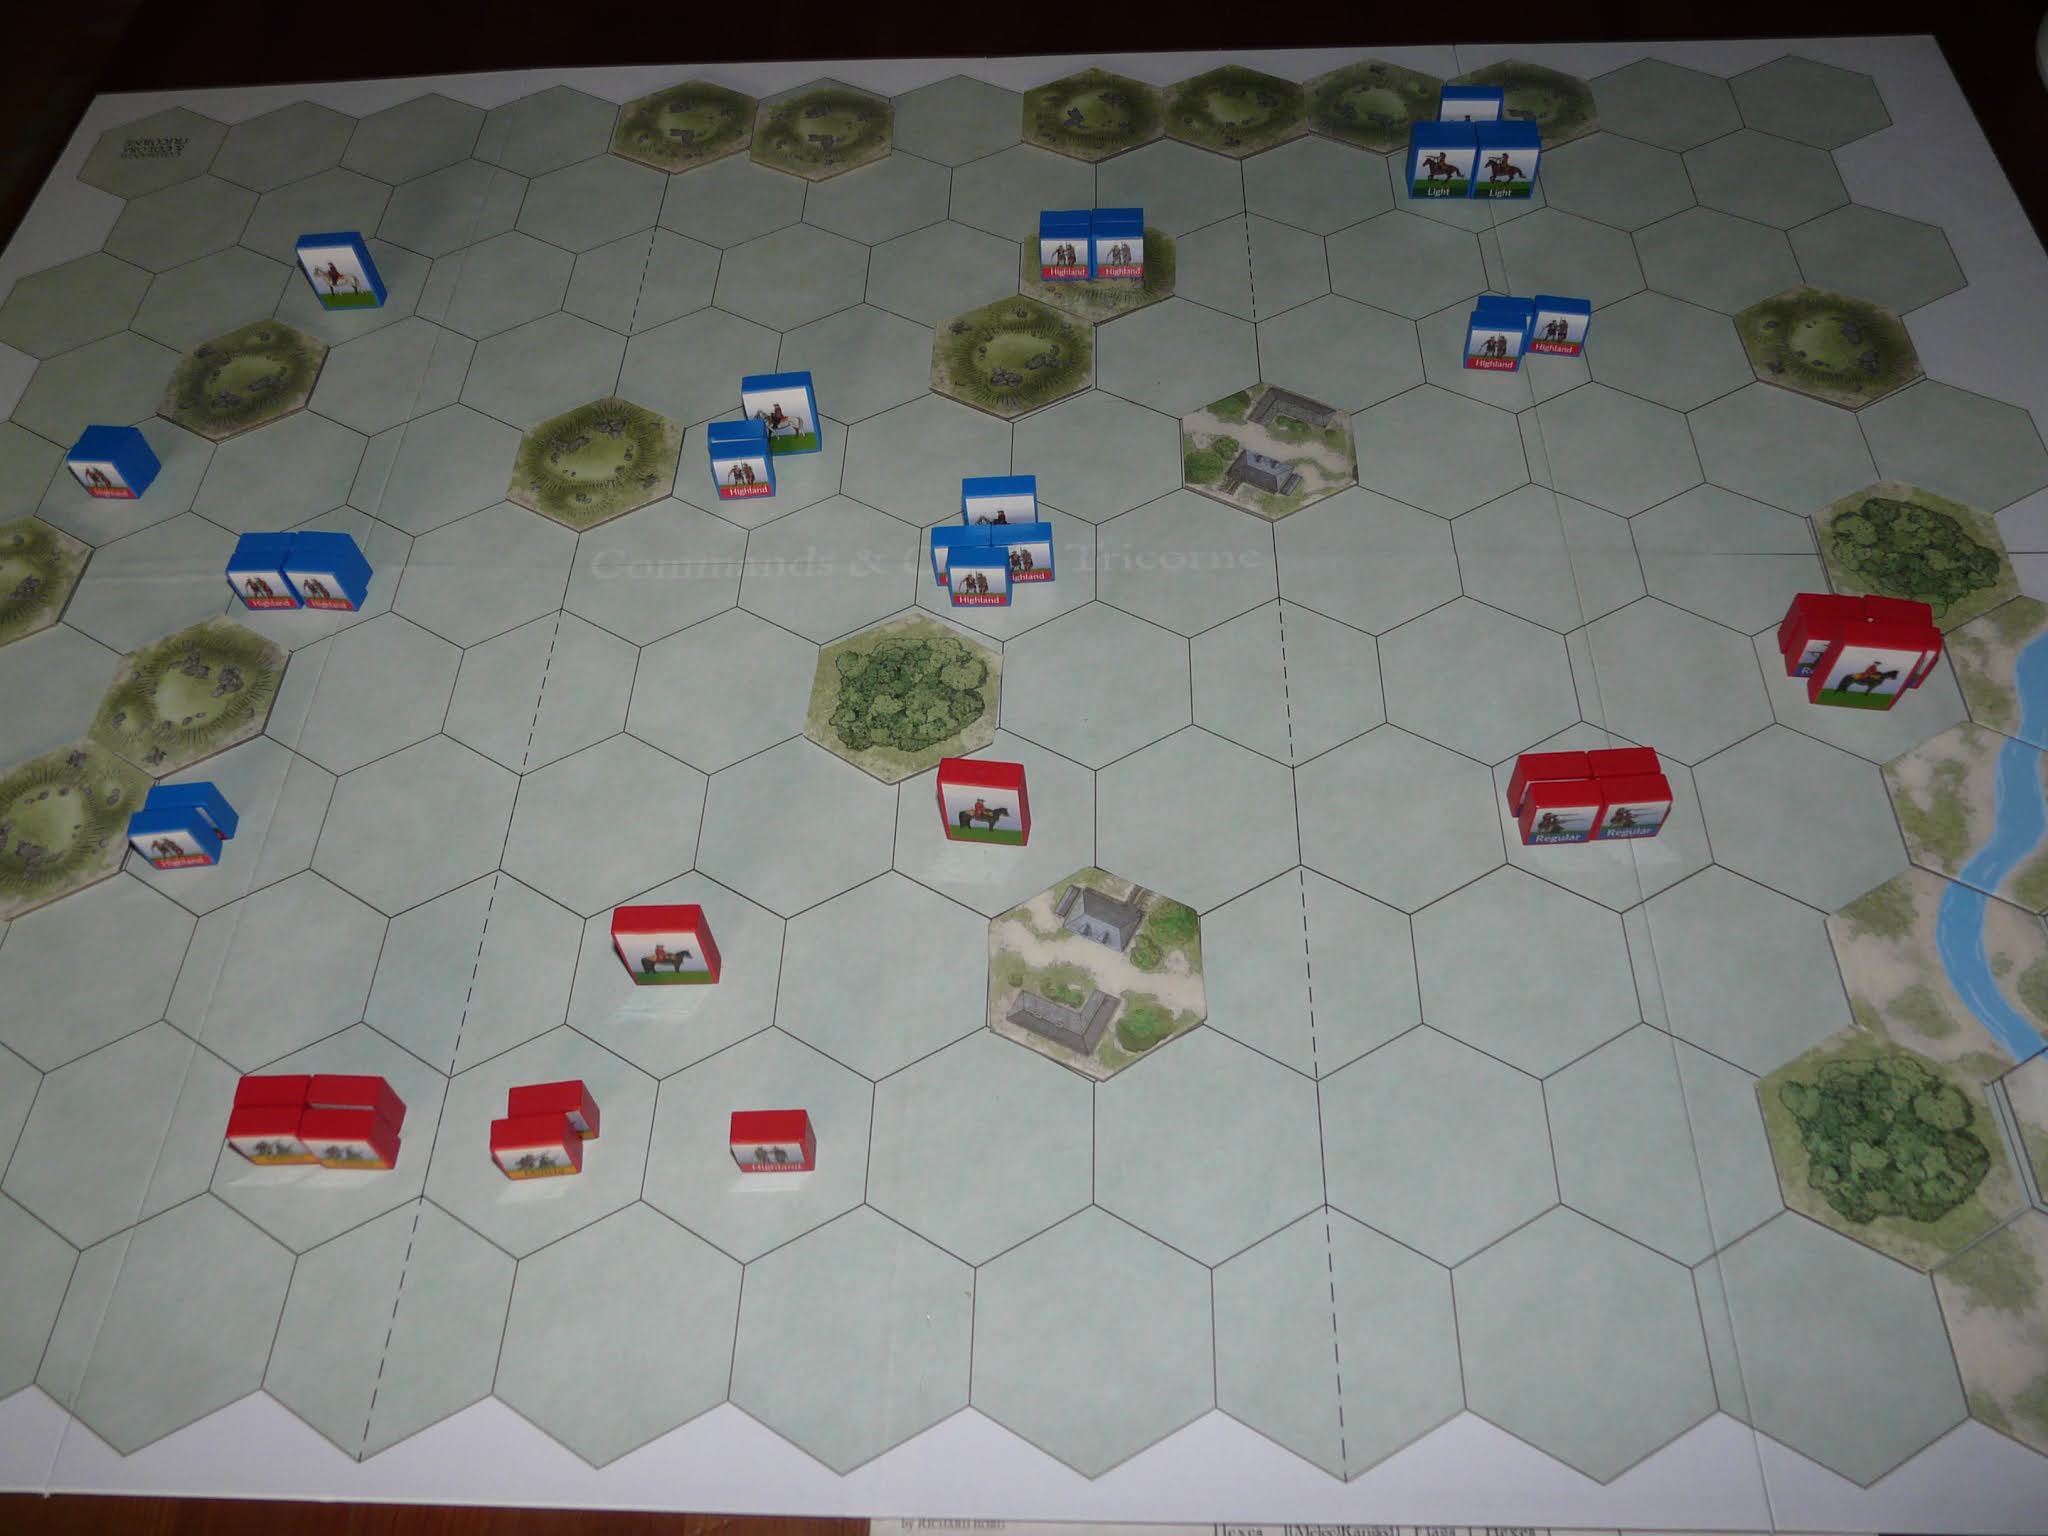
The forces deploy…

The Jacobite’s who had arrived first, took up a position on a ridge above the pass. Mackay formed his troops in a line and simply ordered them to fire their muskets at the enemy.
The Government army consisted of Dutch, English and (lowland) Scottish troops armed with slot bayonets. The Jacobite’s lacked the uniformity – in equipment and clothing mainly armed with sword and shield. The main tactic of the army was the Highland charge. This involved a full speed advance the enemy line before discharging their muskets and pistols before then charging into hand-to-hand fighting with their traditional bladed weapons.
On the day as the sun sank on the horizon on 27th July 1689, Dundee ordered his men to advance and, true to form, the Highlanders charged the Government line. Surprised by the rapid change in tactics, Mackay’s troops did not have time to fix bayonets and so were ill equipped for the close quarter hand to hand fighting that would follow.
In this encounter the same was true, I pushed the lowland scots forward in the centre of the table to enable them to bring the Highlanders into range only for the Highlanders to draw a centre sector card and rush forward contacting the government line.

On the day the battle quickly turned into a rout. Although the Jacobite’s had secured their first victory of the rebellion, they had lost a third of their number as well as their inspirational leader Bonnie Dundee, who had been killed alongside his men in the charge.
In the refight as the government centre crumbled under the assault, I rushed the cavalry forwards only for them to be defeated before they could stem the charging highlanders…. (losing to yourself in hand to hand is not fun :-))


Six flags to three the government forces are swept from the field.
On the day the Jacobite’s won in under thirty minutes. Government casualties were in excess of 1,200 whilst hundreds more were killed in the pursuit. Jacobite casualties were around 1,000, most of whom had been killed in the initial Government volley.
A good opening game I need to brush up on the rules a little bit, solo play worked reasonably well
drawing two cards for the Highland command and selecting the most appropriate, the Highlanders are aggressive in attack and the government troops really need to soften them up before they get into combat.
A fun afternoon’s gaming – now back to the brushes.
Dieser Artikel stammt von einer der angeschlossenen Quellen. Bitte honoriere die Arbeit der Autoren indem du ihren Webseite besuchst.
Artikelquelle besuchen
Autor: Stuart S / Dust, Tears & Dice
Powered by WPeMatico