Fontenoy AAR – Part III
 |
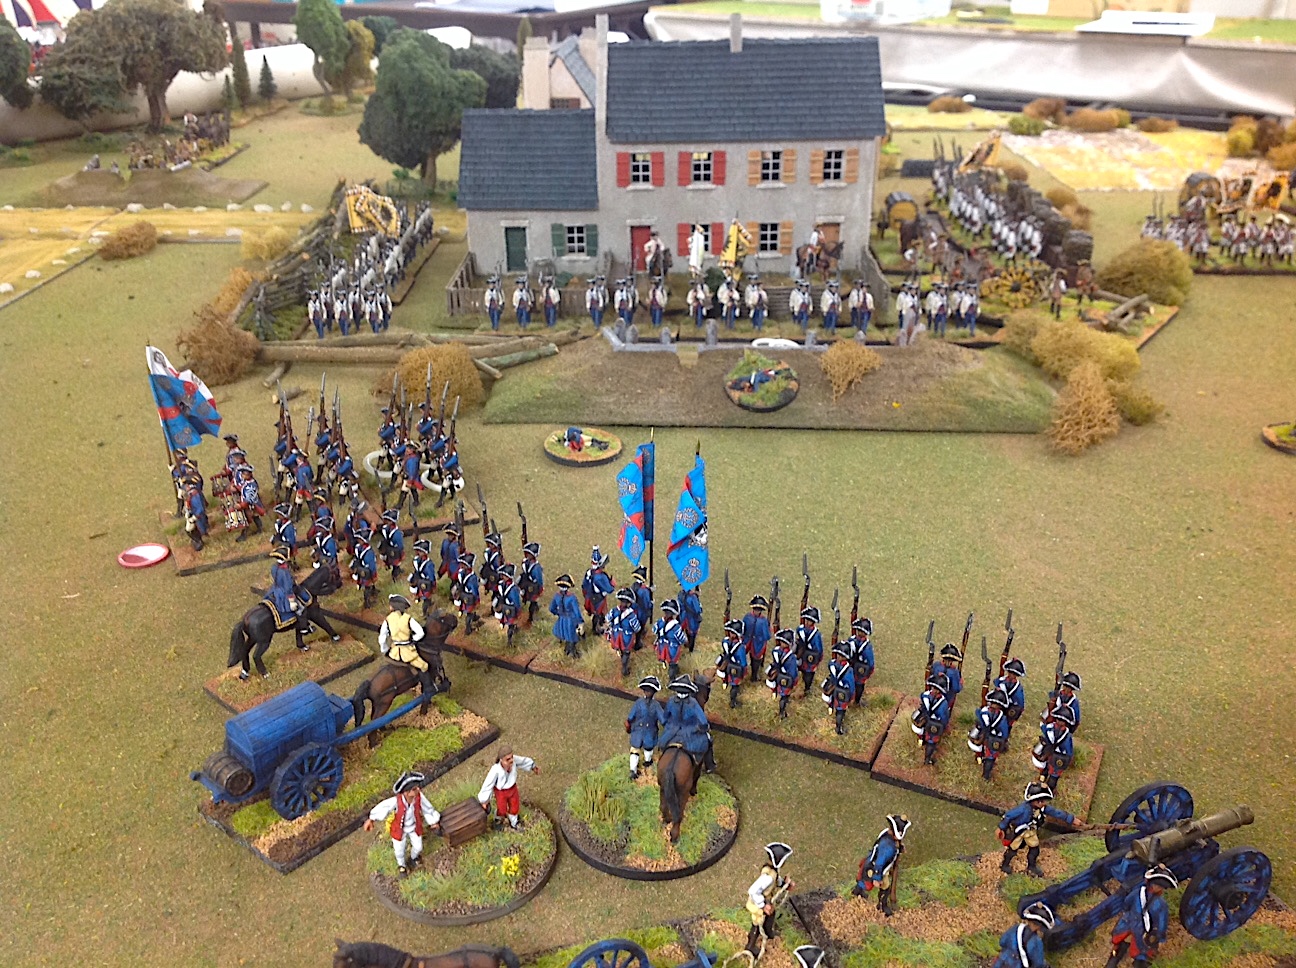
| The town of Fontenoy was garrisoned with up to three battalions of Austrians, two 3-pounders and one 6-pounder cannon. |
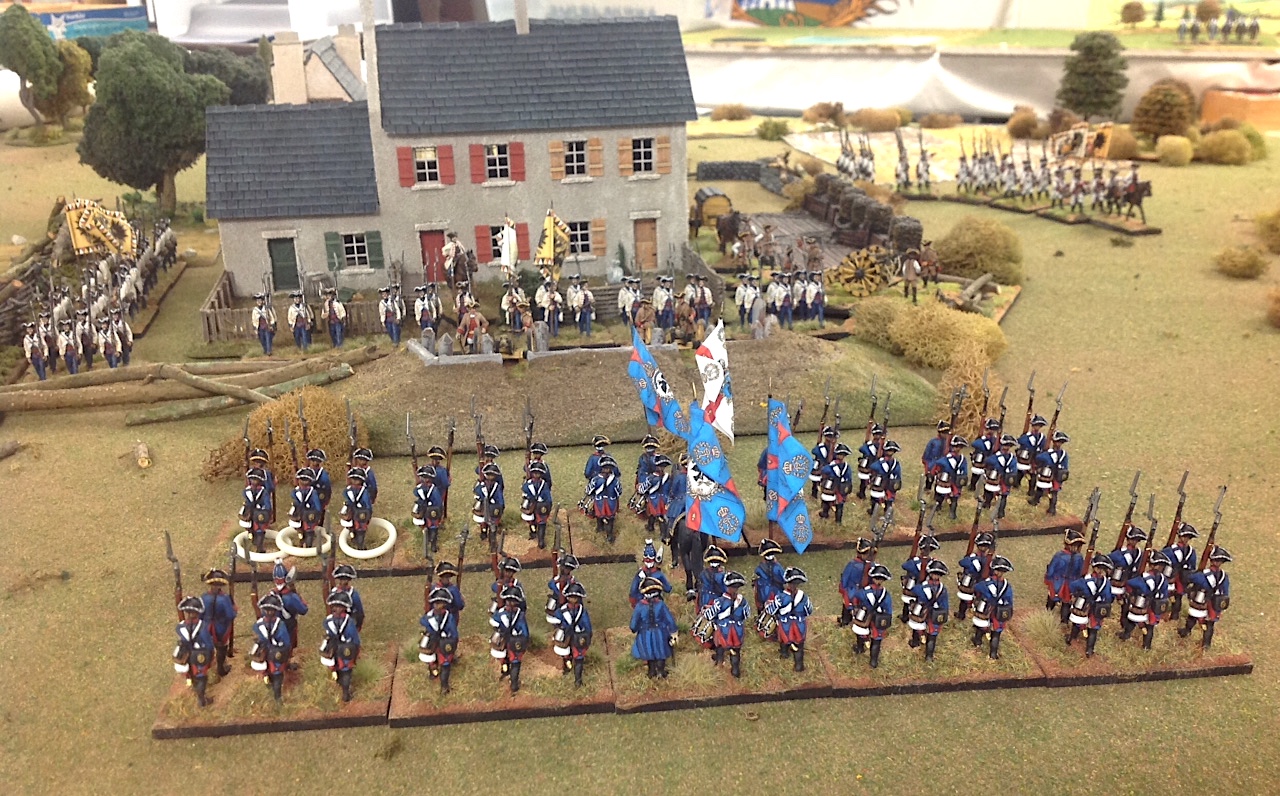 |
| IR22 advances towards Fontenoy. Aren’t they a stirring sight? |
 |
| IR22 Anhalt Dessau regiment of two battalions launches an assault on the entrenchments at Fontenoy. |
 |
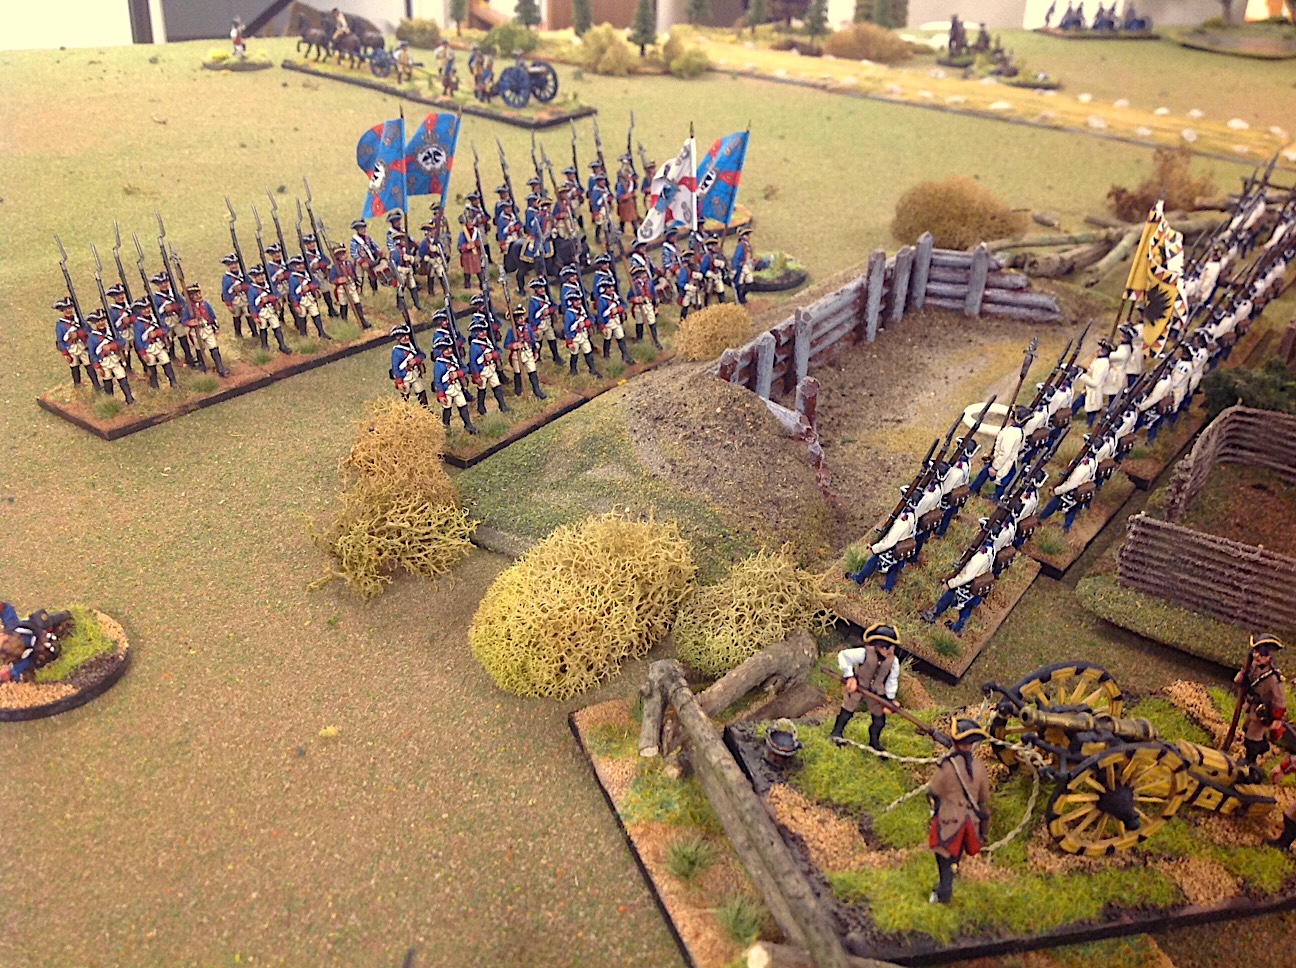
| Since they were not needed in the defense of the town, the brigade commander ordered the first battalion of the MacGuire regiment to depart from the town and redeploy in the gap just to the left of the town. The second battalion is barely visible in the upper righthand corner. They were held in reserve ready to enter the town if the garrison was having any trouble. |
 |
| 1st Battalion MacGuire Regiment marched out of Fontenoy’s entrenchment and deployed as the right flank of the Austrian troops in the center. This was fortunate for the Austrians because the Prussian Winterfeld Regt. made a left wheel in the direction of the gap in the Austrian line (between the ridge in the center and the town) and MacGuire was there to stop them. |
 |
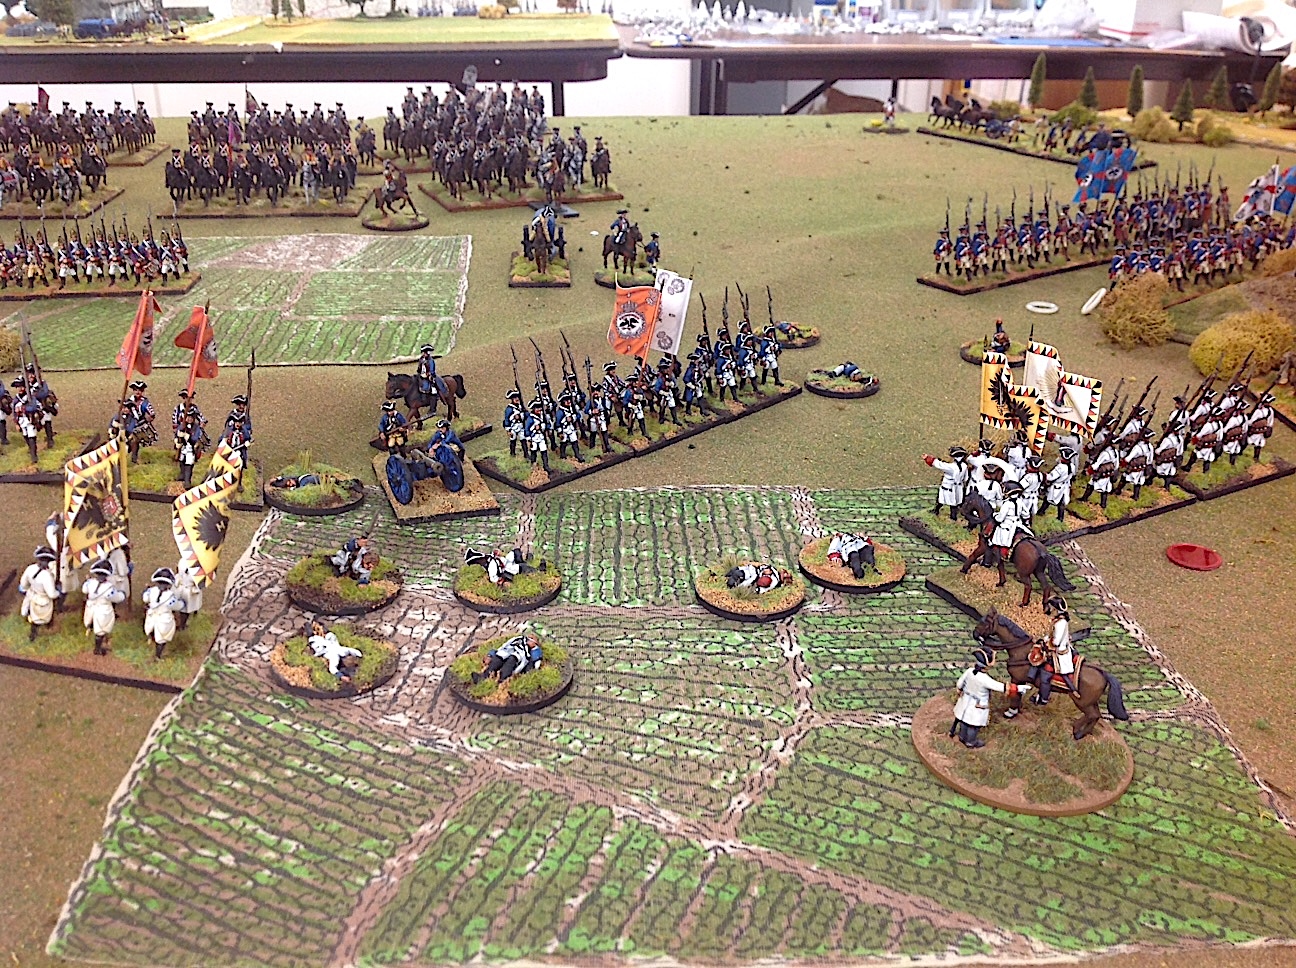
| The Alt Modena cuirassiers (blue flag and facings) and the De Ligne Dragoons (green coats) trotted forward to slaughter the depleted battalions of the Winterfeld Regiment. |
 |
| The Winterfeld Regiment, though severely depleted in men, somehow managed to fend off the attack of two Austrian cuirassier squadrons. |
 |
| When the Austrian cavalry appeared on the battlefield, the Anhalt Dessau regiment retreated back towards its original starting position so as not to have its flanks exposed to a potential cavalry attack. |
 |
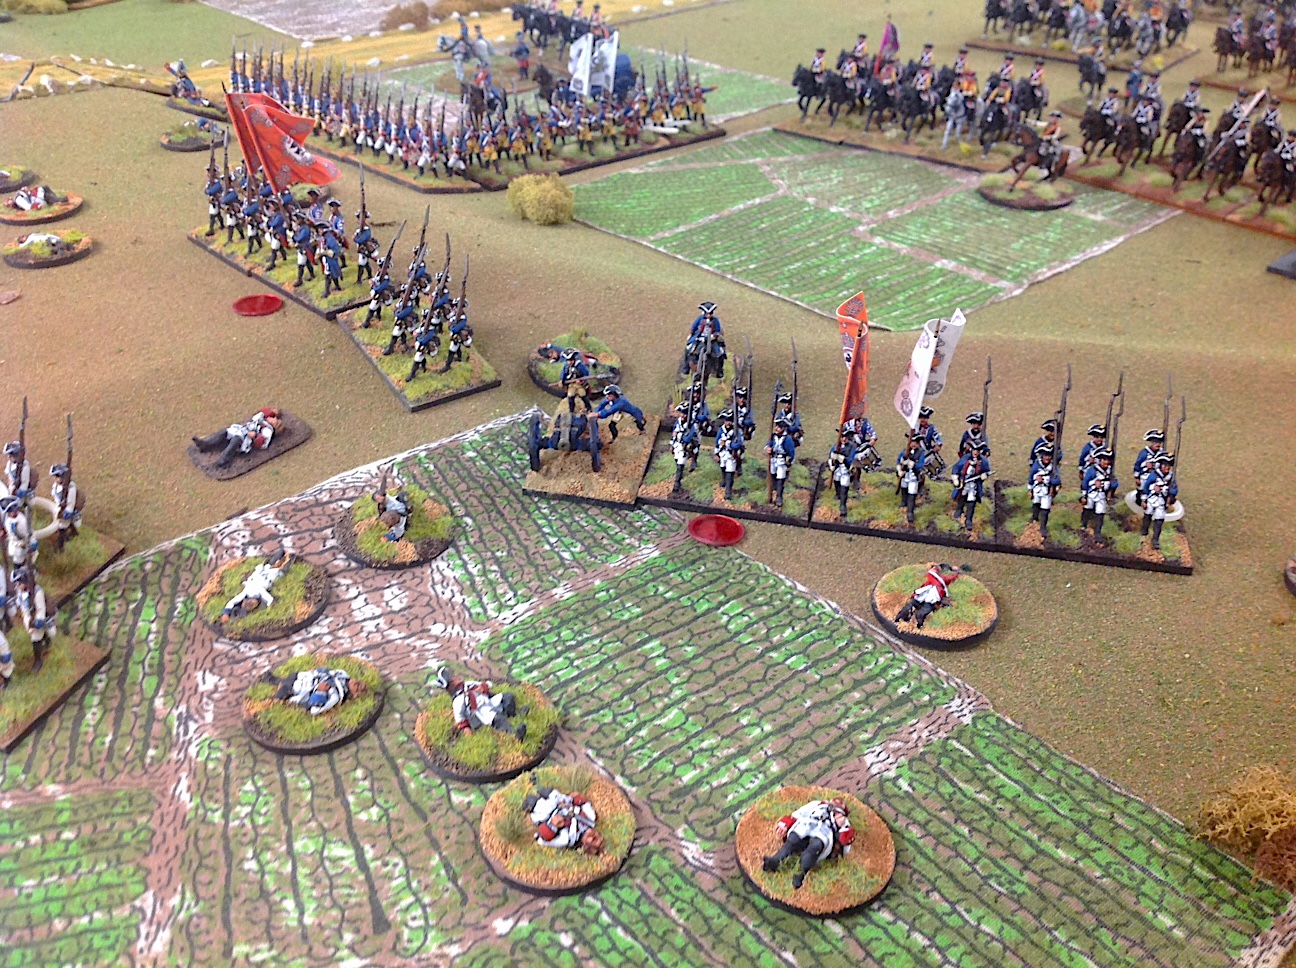
| After the battle, the grim task of taking care of the fallen must begin. Casualty markers illustrate the ebb and flow of the battle. |
Casualty Markers – why use them?
I know that some people have an aversion, for personal reasons, to using dead or wounded wargame figures and I completely understand that. Others don’t see the value in taking the time to paint them when the same time could be spent on painting soldiers to march in our ranks.
However, there are other uses for the figures. I use them as markers – one casualty disk is placed on the table where ever a stand of figures takes place. For example, if a battalion of infantry has six stands of six figures, whenever the unit accumulates six casualties I remove the stand from the table and place a casualty marker in its stead. The marker does not follow the battalion around the table, but rather, it remains on the table ground in that exact spot where it was removed. This way, I can follow the course of the battlefield action and see where the hardest fighting took place. The picture above illustrates this and it is obvious where the heaviest fighting occurred – atop the ridge in the center of the battlefield.
This system is a bit more difficult for cavalry units. I base my cavalry two figures to a stand and have 12 stands within each cavalry regiment. That would add up to many many stands needed to depict the cavalry actions. So instead, I use a horse casualty marker to designate where a cavalry melee took place.
Another use for the casualty markers is as a game token of sorts that can be used to determine victory conditions. For example, the side with the most markers on the table could be designated the loser or the number of markers could be but one of many factors that will determine the winner of the table top game. I sometimes use the red coated markers to show where a unit routed. The number of routs in the game could be another victory condition for the game.
Looking at all of the casualty markers in the picture above, it generates some ideas for after-battle vignettes such as civilians looting the dead, stretcher teams taking the wounded to the hospital area, some civilians digging a grave. Those ideas admittedly start to border on the macabre so I don’t know if I would do some of them. Once I saw an ACW war game where there was a hospital vignette placed in an out-of-the-way area on the table. It had a pile of amputated limbs near a surgical table. That’s too much for.
I’d be ok with a stretcher team of one soldier dragging off his mate in a blanket or a soldier giving a drink from his canteen to one of the wounded.
Other cleaner ideas would include broken cannon wheels and disabled wagons, maybe even an exploded ammo wagon or something like that to scatter across the battlefield.
Food for thought.
Dieser Artikel stammt von einer der angeschlossenen Quellen. Bitte honoriere die Arbeit der Autoren indem du ihren Webseite besuchst.
Artikelquelle besuchen
Autor: Der Alte FritzDer Alte Fritz JournalDer Alte Fritz JournalDer Alte Fritz Journal
Powered by WPeMatico